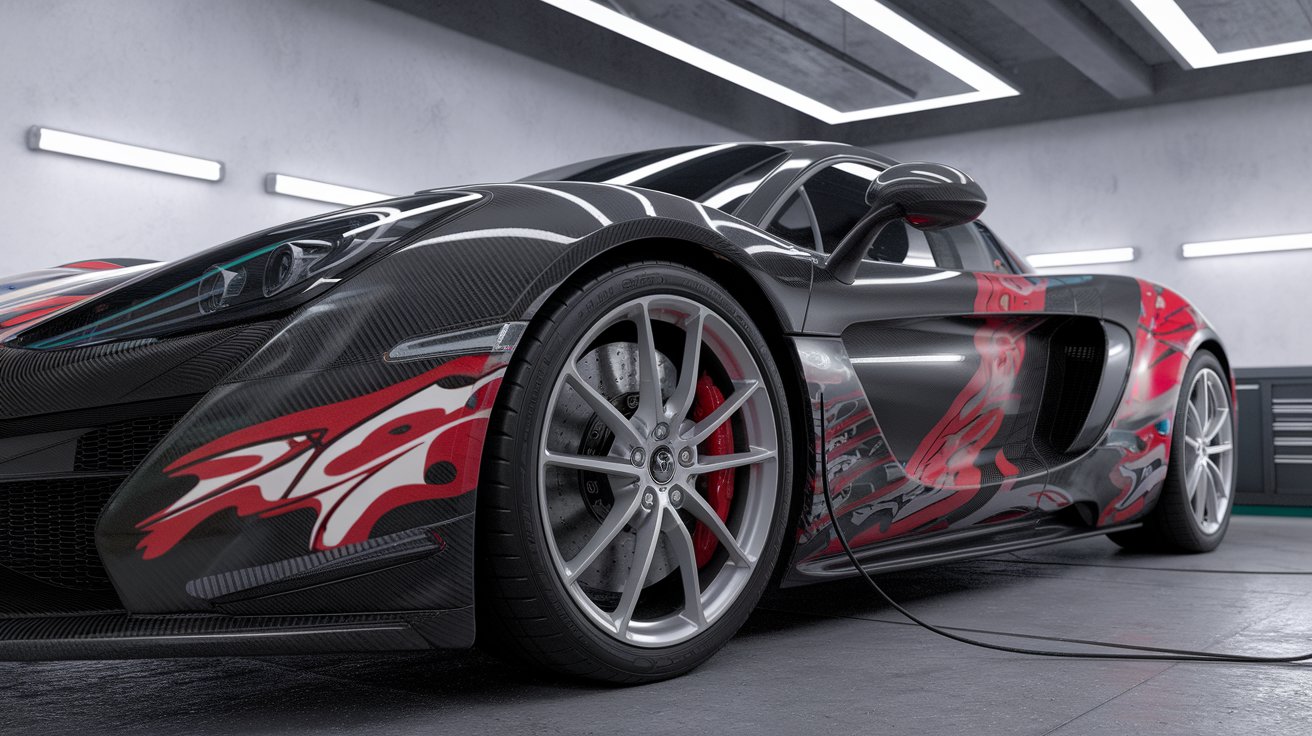
In Dubai’s luxury car scene, expectations run high. You mess up a wrap on a McLaren or Rolls and it’s game over. One misjudged cut line, and your sleek satin finish turns into a visual mess. That’s where the car wrap cut line comes in. It’s not just a trim, it’s geometry, flow, and control. Every curve, every edge, every seam needs calculated precision. Wrap too far across a panel and it lifts. Cut too short, and tension collapses. The secret? Knowing how vinyl behaves and letting math guide your hands. When the cut lines are right, the wrap doesn’t just cover the carit becomes part of it.
Understanding the Car Wrap Cut Line
A proper cut line follows the car’s original shape. Think door seams, trim lines, fender arches. Each cut is placed with purpose, not just to fit but to flow. When done right:
- Tension stays even across curves and corners.
- Vinyl hugs the surface without lifting or wrinkling later.
- Chrome reveals and factory details stay visible.
- Stretching doesn’t ruin the adhesive or distort visuals.
- The wrap can even be removed cleanly, with no paint damage.
On high-end cars, where design lines are tighter and surfaces more sculpted, this level of accuracy is not just preferred, it is essential. A perfect cut line blends into the bodywork like it belongs there. Miss it by even a few millimeters? You’ll see tension spikes, visual misalignment, and short-term failure. It’s not just about trimming. It’s about knowing where to trim and why. If you want to explore premium vinyl wrap solutions tailored for Dubai, visit our car wrapping experts in Dubai for complete details.
Geometry | The Soul of a Seamless Wrap
Think wrapping is just about cutting clean corners? Think again. The real craft lives in geometry. On a McLaren or Bentley, you’re not working with flat panels; you’re contouring curves, balancing tension, and sculpting symmetry. Miss the geometry behind a car wrap cut line, and everything shifts off-center. You’ll see warping near door seams, misaligned mirror cuts, or tension buckling around wheel arches. This is where geometry earns its keep:
- Panel Mapping | Every body section is a zone. You need to know where vinyl enters, stretches, and exits cleanly.
- Line Symmetry | What happens on the left fender has to mirror the right. Misaligned cuts are immediately visible on dual panels.
- Contour Compensation | Curves compress vinyl. Straight lines stretch it. Knowing where and how helps the wrap behave like paint, not plastic.
Is this math? Definitely. But it’s the kind of math that separates flawless Dubai showroom wraps from weekend DIY fails.
Wrapping Around Curves, Seams | Edges
Luxury panels aren’t flat. They curve, twist, and dip in ways that punish bad geometry. If your car wrap cut line doesn’t anticipate that, it fails. Simple. Here’s what works:
- Concave zones (like door inlets or rear diffusers): need heat-shrinking. It pulls the vinyl tight, avoiding that puckered, low-budget look.
- Convex edges: think fender flares or wide spoilers demand pre-stretching. If you skip this, bubbles form the moment the sun hits.
- Sharp transitions: Use angular cuts near mirrors, door handles, and badge insets. They create clean visual breaks, not random tears.
Seen wraps lifting near side skirts or bubbling around parking sensors? That’s geometry ignored.
Tip: Before trimming anything, lay knifeless tape along projected cut paths, then dry-fit the vinyl. It’ll show if your lines respect the car’s shape or fight against it.
One wrong move here, especially on high-gloss or chrome finishes, and the illusion breaks. In Dubai’s detailing shops, perfection is visible. You don’t get a second chance at first impressions.
The Tools of Geometric Mastery
Getting the car wrap cut line perfect is not just about talent, it’s about having the right gear. On premium vehicles in Dubai, where one wrong trim can ruin a six-figure finish, precision tools are essential. Here’s what the pros use to map, trace, and execute flawless car wrap cut lines:
| Tool | Role in Cut Line Accuracy |
| Plotters | Feed vinyl sheets through digital blades that cut custom templates down to fractions of a millimeter. No guessing. Just grid-perfect wrap layouts with calculated car wrap cut line paths. |
| Laser Guides | Project beams along curves and slopes to mirror cut lines symmetrically across doors, fenders, and bumpers. Helps visualize the true geometry before a blade ever touches the wrap. |
| Knifeless Cutting Tape | The secret weapon for wrapping internal seams. Instead of slicing with a knife, you pull this filament beneath the vinyl to shape your car wrap cut line without damaging paint. It’s clean. It’s invisible. It’s genius. |
| Wrap Templates | You can’t freestyle a Ferrari. 2D templates break the car into mapped zones, showing where each car wrap cut line should begin, flow, and finish based on real panel data. |
Without these tools, even skilled wrappers struggle with tension, alignment, and adhesion. Every sharp edge, compound curve, and deep inlet becomes a gamble. But with them, that car wrap cut line shifts from a challenge into a controlled process, one that turns vinyl into sculpture. Alongside laser guides and knifeless tape, installers often rely on strong positioning aids. Before final trimming, many installers also use magnet holders to secure vinyl sheets in place. This ensures the wrap stays aligned during layout, giving you more control over the cut line without relying on guesswork.”
Planning Car Wrap Cut Lines by Vehicle Type
Not every car’s created equal, and neither are its curves. The car wrap cut line strategy has to change depending on what’s sitting in your bay. Big panels? Tight seams? Carbon fiber accents? Each one throws a different geometry at you. Here’s how smart wrappers adjust:
| SUVs & Crossovers SUVs give you room but not forgiveness.
- You’re working with wide panels, ideal for long car wrap cut lines.
- Follow trim lines and body moldings to keep visuals clean.
- Tailgate cuts need tight symmetry. Mess it up, and rear reflections look uneven.
- Roof rails add complexity. Measure twice before slicing.
| Sports Cars Wrapping a Ferrari isn’t just risky, it’s unforgiving.
- Low bodies and deep curves mean tension has to be pre-managed.
- Bumpers and spoilers need angled car wrap cut lines to avoid overstretching.
- Carbon fiber zones demand relief cuts. That material won’t play nice with flat wraps.
- Every misstep shows under Dubai’s sharp sunlight.
| Sedans Don’t let their simplicity fool you, balanced geometry needs discipline.
- Door seams act as built-in guides for your car wrap cut line layout.
- Rocker panels and vertical creases must align down to the last millimeter.
- Good cuts feel invisible. Poor ones catch the eye immediately.
Tip: Before trimming, laser-map your panel shapes and mark tension zones directly on your wrap template. Factor in:
- Vinyl elasticity
- Adhesive pressure changes
- Heat sensitivity during installation
That last one matters. In Dubai, midday heat warps vinyl fast. Get your car wrap cut line planning wrong, and the wrap starts lifting before it hits the road. For instance, when executing a Color Changing Wrap on luxury sedans, precision in cut lines ensures the new shade flows seamlessly without visual breaks.
Common Wrapping Errors | Geometric Fixes That Matter
Even seasoned wrappers slip when geometry’s ignored. The car wrap cut line is where most mistakes either show up or get solved. Miss it, and the wrap lifts, bubbles, or misaligns before the car even leaves the bay. Here’s what tends to go wrong:
| Error | Why It Happens | How Geometry Saves It |
| Misaligned Seams | Templates weren’t symmetrical | Use mirror mapping. Every car wrap cut line must reflect across fenders, doors, and rear panels. |
| Overstretched Film | No tension allowance on deep curves | Model vinyl movement over 3D shapes. Respect material elasticity or lose adhesion. |
| Bubbling & Peeling | Weak bond near edges and curves | Apply relief cuts. Pre-heat paths to lock tension at every car wrap cut line. |
| Visible Blade Marks | Manual cuts scratched paint | Always use knifeless tape. Your car wrap cut line should be invisible—and non-invasive. |
Idea: Before the final trim, walk the body with masking tape. Lay out every planned car wrap cut line, then check symmetry with a laser across split panels. It’s old-school, but it works.
Cut geometry isn’t just theory, it’s your insurance policy. In Dubai, where wraps get photographed the moment they hit the street, these details matter.
Step-by-Step Strategy | Mapping the Car Wrap Cut Line
You don’t wing a wrap. Especially not in Dubai, where clients expect the finish to match the value of their ride. The car wrap cut line process needs structure a real plan before that vinyl touches paint. Here’s how experienced installers get it right:
- Photograph the Vehicle Snap high-res shots of every panel, especially curved zones. These help you understand where each car wrap cut line should begin and end.
- Generate Templates Load images into design software like Illustrator or CorelDRAW. Trace contours and seams to pre-map panel geometry.
- Identify Stretch Zones Mark bumpers, door pockets, and mirror housings. These areas pull hard on vinyl, so your car wrap cut line must redirect tension away from them.
- Laser-Line Your Cut Paths Use guides to mirror cut lines across panels. This keeps symmetry tight even on asymmetrical bodywork like split spoilers or wide-body kits.
- Pre-Test with Knifeless Tape Lay tape where your projected cuts will go. It’s a dry run to check if each car wrap cut line flows with the car’s structure.
- Dry Fit the Wrap Film Before activating adhesive, test the vinyl across complex curves. Look for bunching, lifting, or stretch points near edge zones.
- Add Relief Cuts Slice strategic points to ease pressure typically around compound curves or deep creases. If this step’s skipped, expect tension failures.
- Apply | Trim for Final Finish Use heat guns to soften and mold vinyl around curves, then follow your pre-laid tape to execute clean car wrap cut lines.
This isn’t just workflow it’s wrap geometry in motion. When technicians follow this playbook, every cut line supports tension, flow, and symmetry. And the result? A wrap that feels native to the body not something stuck on.
Smart Tips for DIY Wrappers | Pros Who Want Fewer Redos
Whether you’re working out of a small bay in Al Quoz or inside a temperature-controlled garage in Jebel Ali, there’s one truth: the car wrap cut line makes or breaks your install. Want fewer bubbles, perfect tension, and cleaner seams? Then learn from the pros who wrap flawlessly under pressure. Here’s what they always do:
- Always wrap toward your cut line. Pulling vinyl away throws off tension balance, especially on convex surfaces. A clean car wrap cut line starts with directional control.
- Start small. Practice on side mirrors, spoilers, and filler trims. These teach geometry fast without risking full-panel failure.
- No random cuts—ever. Every car wrap cut line must match body shape. If it doesn’t align with design lines or factory seams, it’ll look sloppy.
- Use digital templates. Skip eyeballing. Vector-based templates guide every car wrap cut line, especially when wrapping identical panels on both sides.
- Respect vinyl memory. Some films contract after stretching. That shift can pull up your car wrap cut line, turning a clean finish into a messy edge.
Tip: Test every material before use. Dubai heat makes vinyl react differently. What lays flat at 9 a.m. might wrinkle by 2. Measure tension, dry-fit panels, and only commit once geometry feels right.
Templates & Diagrams That Help You See the Cut
Even without on-screen diagrams, pros rely on visual planning. When you’re mapping out a car wrap cut line, the right template can turn guesswork into geometric precision. These are the go-to visual aids:
- Top-down vehicle maps that show panel separation. These clarify where factory seams sit and help you plan wrap tension toward logical endpoints.
- Color-coded tension zones to mark stretch pressure areas. Blue zones = low tension, red zones = high heat and stress. Smart wrappers check these before cutting.
- Laser projection renders that trace projected seam paths across uneven curves. Especially useful for large vehicles or wraps involving multiple finish types.
- Digital template overlays for accurate cut line planning. Whether you’re wrapping a BMW 8 or a Discovery, these help translate body shape into strategic cut geometry.
Pro Tip: Designers often print these templates and annotate them directly using grease pencils, styluses, or digital markup tools. That turns geometry into a living workflow, especially in hot zones like Dubai or Karachi, where vinyl behavior shifts with temperature.
The Artistry Behind the Angles
Beyond tape lines and plotter precision lies something subtler: geometry as visual poetry. A car wrap cut line done right isn’t just technical accuracy it’s fluency in the vehicle’s native language. It speaks to the wrapper’s eye for balance, symmetry, and flow. When vinyl kisses a body crease with seamless precision, the effect is transformative:
- The wrap doesn’t cover—it coexists.
- The cut line doesn’t interrupt—it completes the vehicle’s design.
- Light doesn’t distort—it dances across contours as if nothing artificial was ever added.
This is where artistry meets analytics where wrapping becomes less about tape and tension, and more about understanding how angles, curves, and surface transitions express motion.
Pro Insight: The best wrappers don’t just look at a car they study its silhouette. They trace the natural falloff of light. They anticipate where vinyl will fight and where it will flow. Every cut becomes a signature.