
Tools and workshop setup
How to Build a Car Wrap Tool Kit
Build a kit around the film and the work you plan to do. Check the tools, replacement consumables and workshop equipment a bundle leaves out before buying.
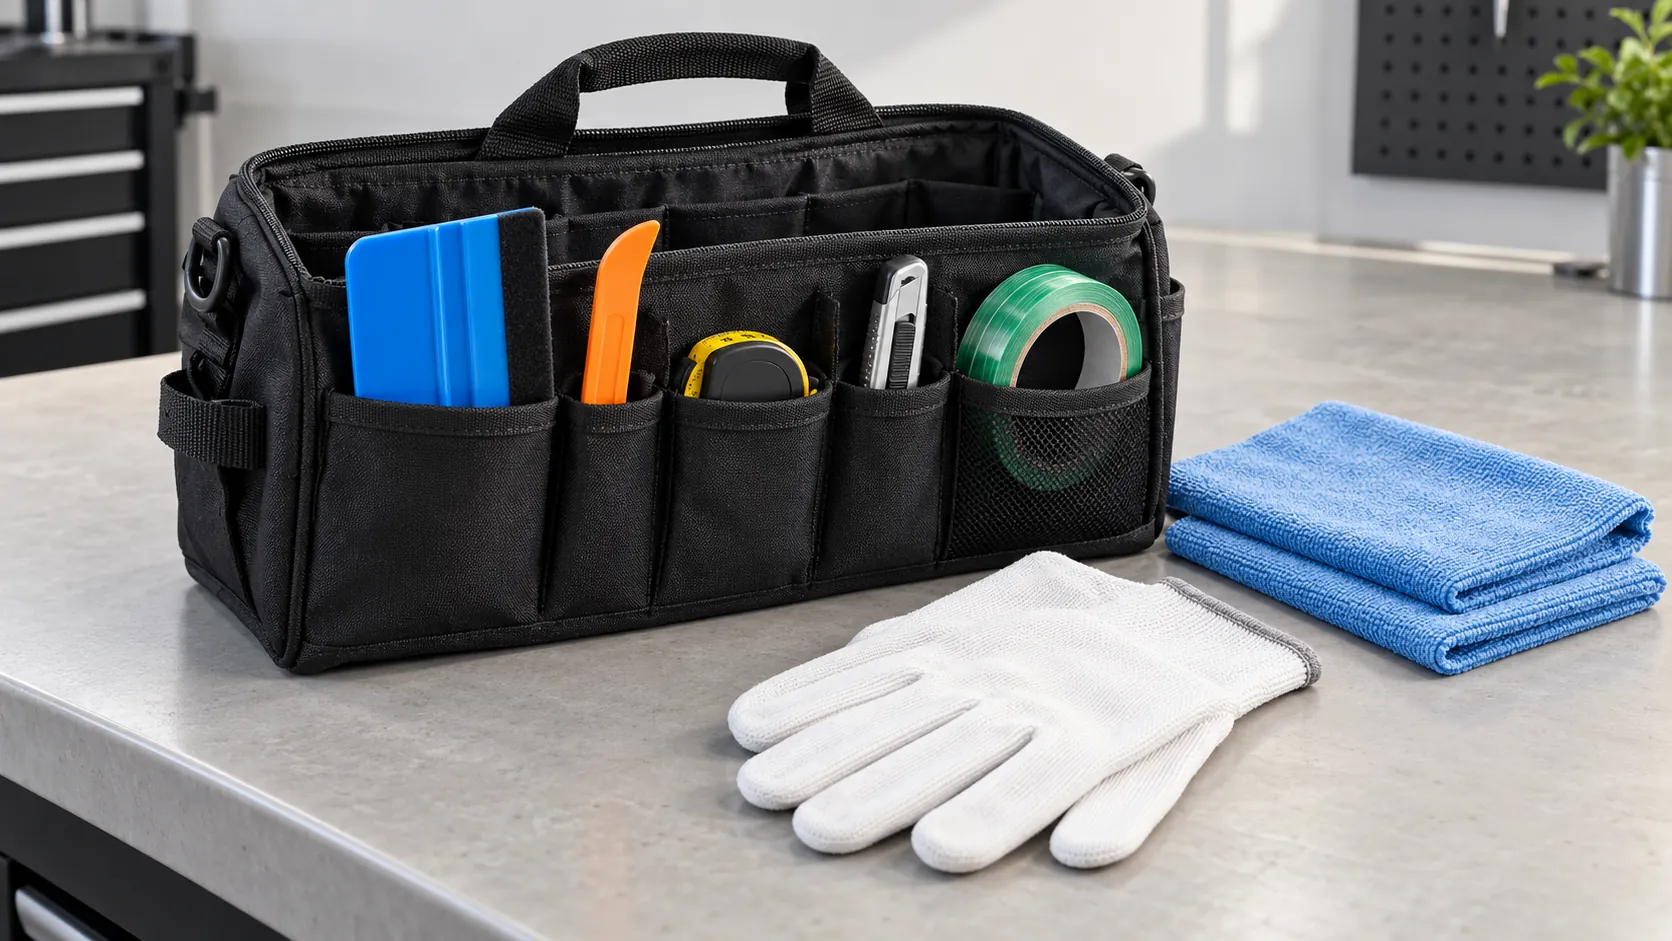
Build the kit around the film and the work you will do
A useful car wrap tool kit covers preparation, positioning, application, cutting, heating and inspection. Start with reliable tools for those tasks, add their replacement consumables, then check what the advertised bundle leaves out. A bag of hand tools is only part of the complete installation setup.
This guide is for exterior automotive vinyl. A kit sold for vinyl, PPF and window tint may contain some shared accessories, but the materials can require different squeegees, cleaners and application methods. Identify your film range and finish before choosing the equipment. Avery Dennison’s Supreme Wrapping Film application bulletin, for example, lists the fitting tools and specifies dry application.
Decide whether you are practising on a removable panel, fitting a small accent or preparing for full vehicle coverage. A small task may need fewer holding tools and less bench space. A roof or bonnet needs a plan for supporting a much larger sheet. The size of the job changes handling requirements even when the same squeegee is used.
Write down the tasks you intend to perform before ordering. Include access to the panel edges and any trim work, not just the visible face. If you lack the vehicle procedure or experience needed to remove a component, arrange that work separately. Adding a trim-removal tool to the bag does not establish that the component is safe to remove.
Check that the complete setup covers every required task
Use this inventory to compare a bundle with the equipment you already have. Items such as a suitable heat gun, lighting and a cutting bench may be purchased separately. They still need to be available before a fitting session starts.
| Task | Include in the setup | Check separately |
|---|---|---|
| Surface preparation | Compatible cleaner and clean lint-free cloths | Washing equipment, replacement cloths and chemical safety instructions |
| Measurement and positioning | Flexible tape measure and suitable layout tape | Sheet support and holders compatible with the panel |
| Applying film | Buffered wrap squeegee and clean application glove | Replacement buffers and access to narrow areas |
| Cutting | Retractable cutter, compatible spare blades and suitable knifeless tape | Cutting support and a blade-disposal container |
| Heating | Controllable heat gun and suitable surface thermometer | Safe resting position, power supply and tool instructions |
| Inspection | Useful directional lighting | Access to returns, recesses and affected vehicle components |
| Organisation | Bag or tray with protected compartments | Separate storage for chemicals, used cloths and sharp waste |
Count usable functions rather than pieces. Several spare blades, a pair of gloves and two nearly identical applicators may contribute many items to the advertised total. That number does not tell you whether the kit includes temperature measurement or enough clean cloths.
Some supplies are consumed during the job, while other equipment is reused. Keep those purchases separate on your list. It makes omissions easier to spot and helps you compare the cost of maintaining the setup after the original tape and buffers have been used.
Choose a small, useful range of application tools
A buffered wrap squeegee is a practical starting tool for many vinyl applications. Check its width, stiffness, grip and corner shape. A wider tool can cover open areas, while a compact one may be easier to control around changing contours. Choose a working edge that you can keep in contact with the film.
Avery Dennison’s application-tool range distinguishes medium-flex, flexible and rigid squeegees. It also includes small Flextreme applicators for narrow areas. These differences show why several tools may be useful, but they do not establish that every colour of plastic has the same hardness across brands.
Inspect the buffer as well as the body. It should fit securely over the intended contact edge without exposed rough corners. A soft pad can still contain grit, and a flexible body with a damaged edge is not ready for use. Keep spare compatible buffers rather than assuming the strip fitted to a new tool will last for the whole job.
Add a narrow plastic applicator when the planned work has an accessible return or tight area that the main squeegee cannot reach. Avoid using a pointed edge to force material into a gap you cannot inspect. A specialist tool should solve a known access problem, rather than encourage fitting around a component that needs a different approach.
An application glove is useful for hand contact with the film. Check that it is clean, fits well and does not snag the chosen finish. Protective gloves for handling cleaning chemicals serve a different purpose and should be selected from the chemical’s safety instructions. Do not assume an ordinary wrap glove provides every type of hand protection.
For a beginner, two meaningfully different applicators and spare buffers are more useful than a large collection of similar shapes. Practise with the selected film on a suitable offcut and panel before deciding which extra profile is missing.
Include cutting support and blade disposal with the cutter
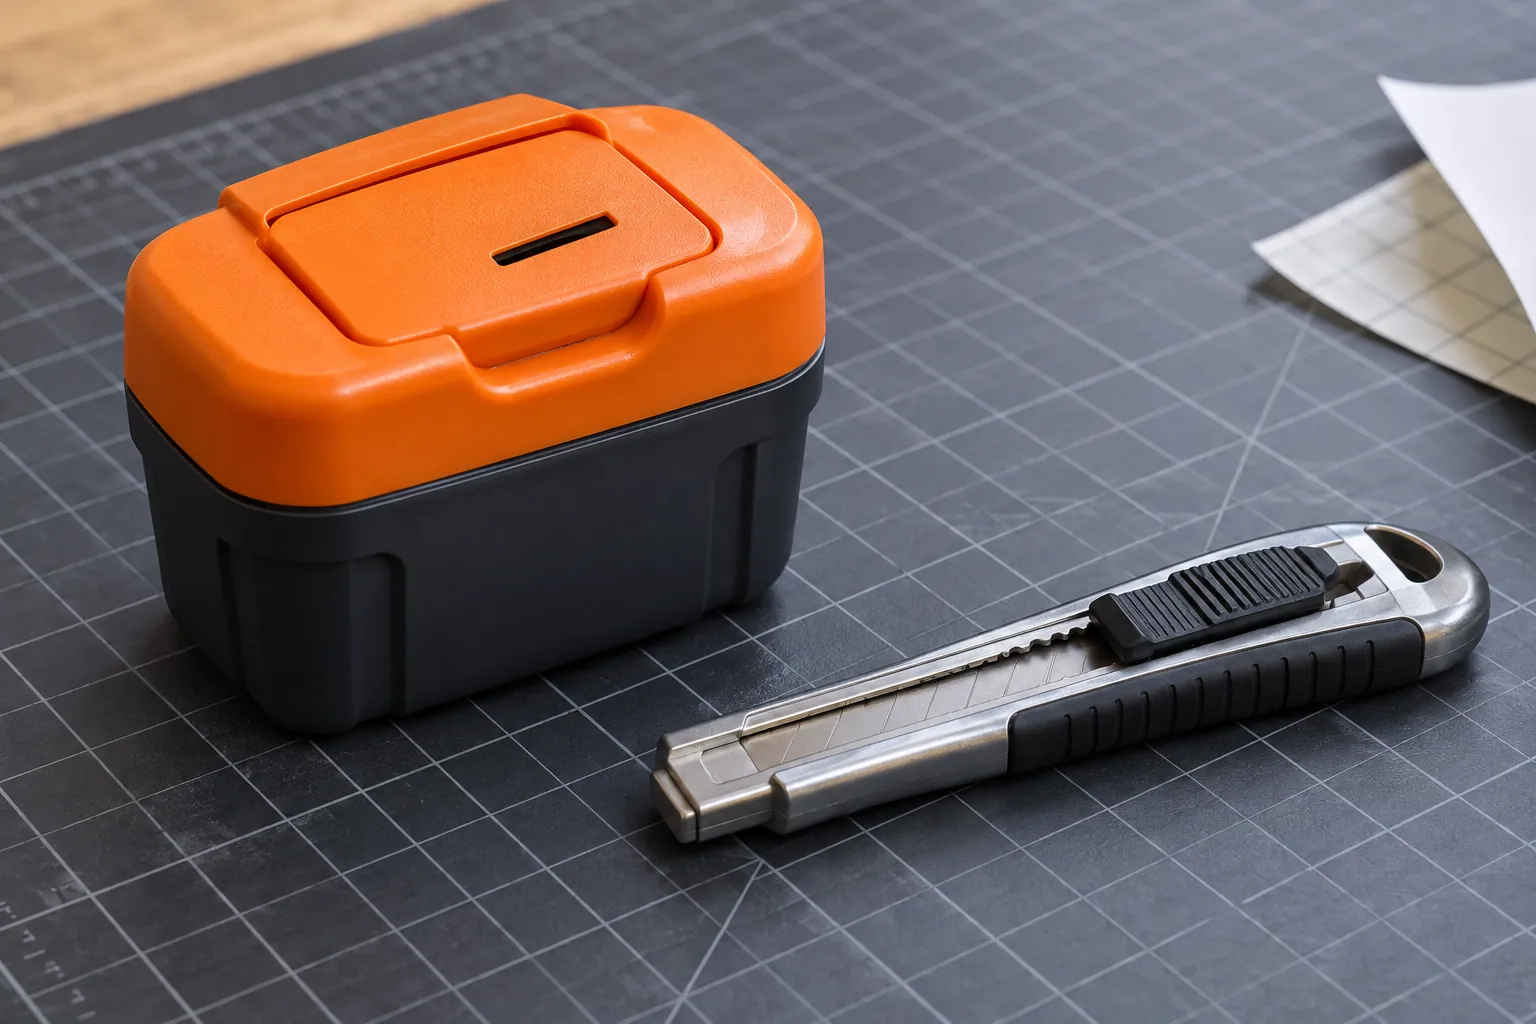
Check that the cutter holds its blade securely and that matching replacements are available. Blade width, angle and locking design are compatibility details. A packet described only as spare blades may not fit the supplied handle. A retracted blade should stay protected while the knife is carried or stored.
Prepare a suitable cutting mat or other support for trimming loose material. A straightedge can help with bench cuts, provided it does not slip and the surface beneath the film is protected. Do not treat a sharp blade, shallow exposure or expensive handle as permission to cut blindly over painted panels.
Include compatible knifeless tape for planned lines on the vehicle. 3M’s tape range includes different products for general trimming, contours and specialist materials. Check the intended use and test the tape with the actual vinyl or laminated graphic. Buying any roll labelled knifeless is not enough to confirm a suitable combination.
A closed blade-disposal container is an easily missed part of the cutting kit. OLFA’s DC-4 is one documented example designed for snapping and retaining used blade segments. Follow the instructions for the cutter and container, and confirm how sharp waste will be handled. Loose segments should not go into a tool pouch or a pile of vinyl scraps.
Scissors or a guarded roll-cutting tool can be useful for preparing loose pieces when suitable for the material. Treat cutting backing paper, trimming unsupported vinyl and making a line over a vehicle as separate tasks. One accessory should not be assumed to handle all three.
Provide controllable heat, measurement and a safe resting place
Inspect a heat gun’s controls, airflow settings, cable or battery arrangement and resting position. Choose equipment that you can handle while managing the film. The tool needs a stable place to rest without its hot nozzle contacting loose liner, cloths or the vehicle.
A suitable surface thermometer belongs with the heating equipment. The heat gun’s setting does not establish the vinyl temperature. Check the thermometer’s measurement range, stated accuracy and targeting instructions against the film’s requirements. Keep its batteries or power supply available rather than discovering a flat instrument during fitting.
For a corded gun, check the supplied plug and power requirements for the intended location. Any extension equipment must suit the load and the manufacturer’s instructions. For a cordless model, establish whether the quoted package includes a battery and charger, and whether additional charging arrangements are needed for the planned session.
Allow the tool to cool before transport or storage. The Bosch GHG 20-63 manual provides a product-specific example of cooling and safe handling instructions. Use the manual for the gun you own rather than assuming every model has the same stand or cooling procedure.
Keep the film’s fitting document accessible alongside the equipment. Our guide to using a heat gun on wrapping vinyl covers shaping, surface measurement and post-heating.
Pack preparation supplies that will stay clean between uses
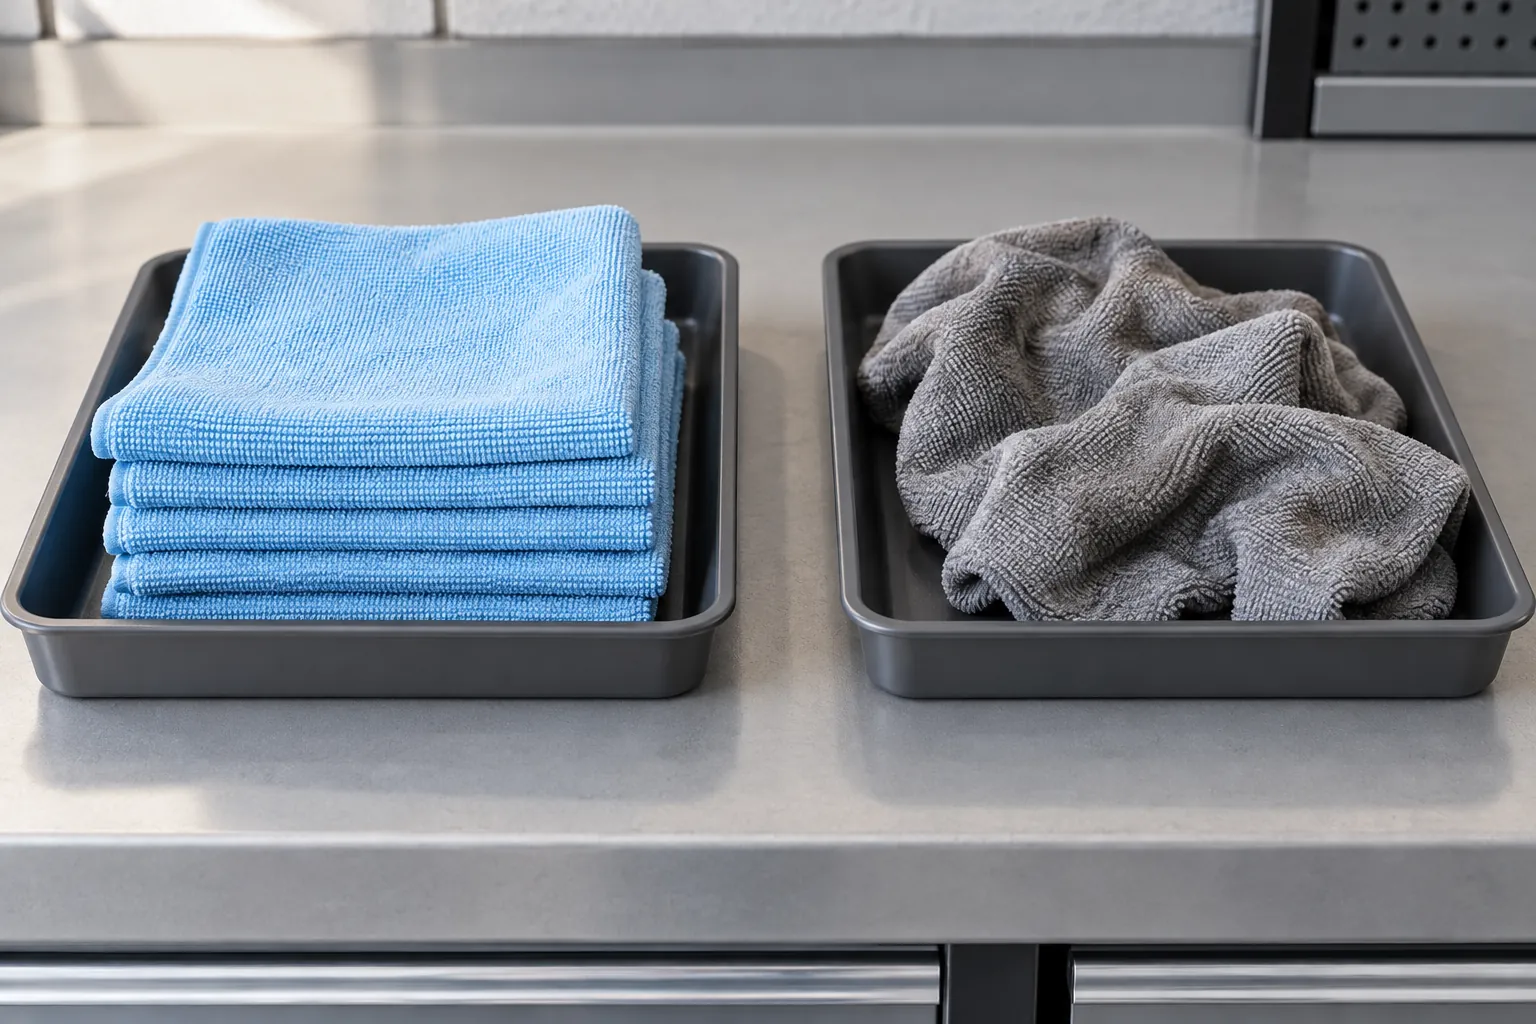
Choose preparation products from the instructions for the film and substrate. A general detailing spray, wax, dressing or wrap aftercare product is not automatically a preparation cleaner. Check the product’s purpose before adding it to the kit, and keep its label and safety information available.
Provide enough clean lint-free cloths for the intended cleaning stages. Separate initial dirty work from final surface preparation, and keep a place for used cloths. A colour system can help, but the condition and assigned task matter more than the colour. A blue cloth is not clean simply because the unused stack is also blue.
Washing and drying facilities may sit outside the tool bag. Confirm they are available before a vehicle arrives. The Avery Dennison application bulletin describes washing, drying and subsequent cleaning as preparation stages, so a small spray bottle and one towel should not be mistaken for the entire process.
Assess the surface before selecting extra decontamination equipment. Clay, adhesive removers and specialist cleaners have particular uses and compatibility requirements. Do not include an aggressive treatment as a routine step for every painted panel. Peeling clear coat or uncertain repaired paint needs assessment, rather than another cleaning accessory.
If primer or edge sealer is specified for the exact film and location, keep that approved product and its application instructions with the job supplies. These products are not universal repairs for an unsuitable surface or an incorrect fitting plan. The 3M 2080 bulletin illustrates why promoter guidance is tied to a named material.
Store chemicals in suitable labelled containers and follow their ventilation, protective-equipment and drying instructions. Keep them away from heating work and protect clean applicators from spills. Avoid adding an unverified cool-down spray or static-control treatment merely because it appears in an accessory bundle.
Choose measuring and holding tools for the actual panel

A flexible tape measure helps plan a film piece around a contour. Keep a record of the required coverage, edge allowance and material direction for each piece. A straight ruler alone does not describe a curved surface, and a photograph of the vehicle does not supply reliable dimensions.
Use suitable removable layout tape where reference points are needed. Confirm its compatibility and contact-time instructions, especially on uncertain repaired paint. Avoid drawing directly on the finished vinyl unless its manufacturer permits the marking method. Keep the piece’s identification on its liner or another suitable record.
Magnets are useful on compatible steel panels, but they do not hold aluminium or plastic in the same way. Choose holders for the substrate rather than the apparent colour of the panel. Inspect the protective bases and contact surface for trapped debris before placing them, and avoid dragging them across the finish.
Manufacturer accessories can support this handling work. Yellotools’ SpeedMag HD is one documented mounting magnet for wrapping. Its existence does not establish that any holder can support any sheet, and a protective cover is not a scratch-proof guarantee.
For larger pieces, plan a clean bench, roll support and assistance where needed. Holders should help maintain position, not force one person to manage a sheet beyond their reach. Before buying additional clamps, check whether the practical missing item is a suitable support or a second pair of hands.
Add capacity when the job grows
A starter kit and a workshop inventory differ mainly in capacity, spare supplies and access to recurring tasks. Keep the basics dependable at either level. Add specialist equipment when a particular panel or workload creates a clear need.
| Project | Useful additions | Plan before starting |
|---|---|---|
| Removable practice panel | Same-film offcuts and stable panel support | A simple shape on which you can inspect the result |
| Small accent or accessible trim | A compact applicator and suitable cut-path supplies | Panel access and the permitted edge treatment |
| Bonnet, roof or full vehicle | Roll support, extra holders, consumables and suitable access equipment | Handling large sheets and reaching each area safely |
| Repeated workshop jobs | Duplicate frequently used tools and organised replacement stock | Keeping one job moving while another tool is cleaned or replaced |
A full vehicle also needs enough film in the correct product, finish and orientation. Those materials are a separate purchase from the tool kit. Plan waste and practice pieces sensibly rather than assuming the smallest possible material order will support learning on complex contours.
Printed graphics add a production stage before fitting. A hand-tool bag does not provide artwork preparation, printing or lamination equipment. Establish whether the graphic will arrive ready for installation and what its material system requires. Only then decide what belongs in the physical fitting kit.
Compare an itemised bundle with individual purchases
Ask for exact descriptions of the working tools, not just a photograph and piece count. A bundle can be convenient when the contents match your tasks and replacements are easy to source. Buying selected items separately may be more useful when you already own some equipment.
- Confirm the squeegee dimensions, stiffness options and replacement-buffer type.
- Check the cutter model, blade compatibility and whether disposal equipment is included.
- Identify the tape product and any stated film limitations.
- Check whether heating, measurement, batteries and chargers are part of the price.
- Ask which consumables are supplied and how replacements are ordered.
Inspect the seller’s description for what is absent. A photo showing a heat gun in the background may not mean it is included. Likewise, “professional kit” does not establish a manufacturer certification, a warranty on the installation or a particular standard of finish.
Compare the complete delivered cost, including necessary extras, shipping, replacement consumables and VAT treatment. Ask for a current itemised quote if the package details are unclear. There is no useful universal AED price for a kit that might contain only hand tools or might include powered equipment.
When a supplier offers an upgraded version, ask which specific task the extra item supports. Our guide to car wrap technology explains documented capabilities and how to test an upgrade. Use that evaluation for optional purchases after the core setup is complete.
Organise the work area as well as the tool bag
Choose a workspace with suitable conditions, ventilation, lighting and room to move around the panel. A kit cannot compensate for airborne grit or a vehicle surface outside the film’s application conditions. In Dubai, allow a car arriving from direct sun to reach appropriate working conditions and check the panel temperature.
Arrange the immediate bench by task. Keep clean application tools where they will remain clean, cutting tools with their support and disposal container, and chemicals in their appropriate storage area. Provide a separate destination for removed liner and used cloths so they do not migrate back into the clean kit.
Place the heat gun’s resting point where you can put it down without reaching over fresh film or loose waste. Route its cable so the work does not trap it in a door or create a walking obstruction. These are layout decisions that should be made before handling a large sheet.
Pack the bag so each tool can be returned to a known position. Cover working edges, retract cutters and avoid loading pockets so densely that removing one item exposes another sharp edge. For transport, carry chemicals and sharp waste in suitable separate storage rather than beside clean buffers and cloths.
Keep the product instructions, panel measurements and component notes accessible without touching a phone or paper with contaminated gloves. A simple job sheet can serve this purpose.
Inspect a new kit and replace consumables as they wear
Unpack a new set on a clean bench and compare it with the itemised order. Check for rough moulded edges, damaged buffers, loose cutter parts, missing blade references and protective covers that do not fit. Resolve defects before the tools touch a vehicle.
Test the applicator’s contact surface and any cutting tape on suitable practice material. Check powered equipment and measuring instruments against their manuals. Keep purchase and product details where they can be found if a part is missing or a tool needs service.
After use, clean tools by their approved methods and let them dry before closing the case. Inspect squeegee faces and holder bases, replace worn consumables and separate items that need attention. Avoid spraying a general lubricant or silicone product onto tools that contact the vinyl.
Replenish stock from what the job consumed. Keeping a note of buffer type, blade reference and tape product makes replacement more reliable than ordering another assorted bundle. Retire a damaged tool body when it can no longer hold its working part securely.
Account for tools and fasteners after any vehicle-component work. A well-packed bag helps reveal something missing, but the vehicle checks still follow the fitting and reassembly procedures. Finish with the specified film inspection and care handover before considering the job complete.
Questions about buying a car wrap tool kit
Does a complete tool kit include the vinyl?
Do not assume it does. Tool kits and film rolls are often separate purchases. Check the itemised contents and order the correct film product, finish and amount for the planned coverage.
Do I need to remove every handle and badge?
No universal removal list applies to every vehicle or fitting plan. Decide what access is required, follow the relevant vehicle procedure and arrange experienced help where needed. Do not remove a part simply because the kit contains a trim tool.
Can I use equipment I already own?
Yes, if it meets the task and the relevant instructions. Inspect its condition and confirm compatibility. Existing lighting or heating equipment may cover part of the setup, but household substitutes should not be assumed equivalent.
Should I replace the whole kit when a buffer wears out?
Usually the compatible buffer can be replaced separately if the squeegee body remains sound. Check the fitting method and inspect the tool before reuse. Replace the complete tool if damage prevents secure, controlled use.
Discuss your wrap project
Planning a wrap for your vehicle?
Tell us your vehicle model, intended coverage and preferred finish. We can discuss the material and fitting work at our Al Quoz workshop.