
Vinyl fitting and finishing
How to Use a Heat Gun for Car Wrapping
Warm vinyl gradually, measure the film surface and use the instructions for its exact product and finish. Shaping heat and final post-heating are different stages, and extra heat cannot repair poor preparation or damaged material.
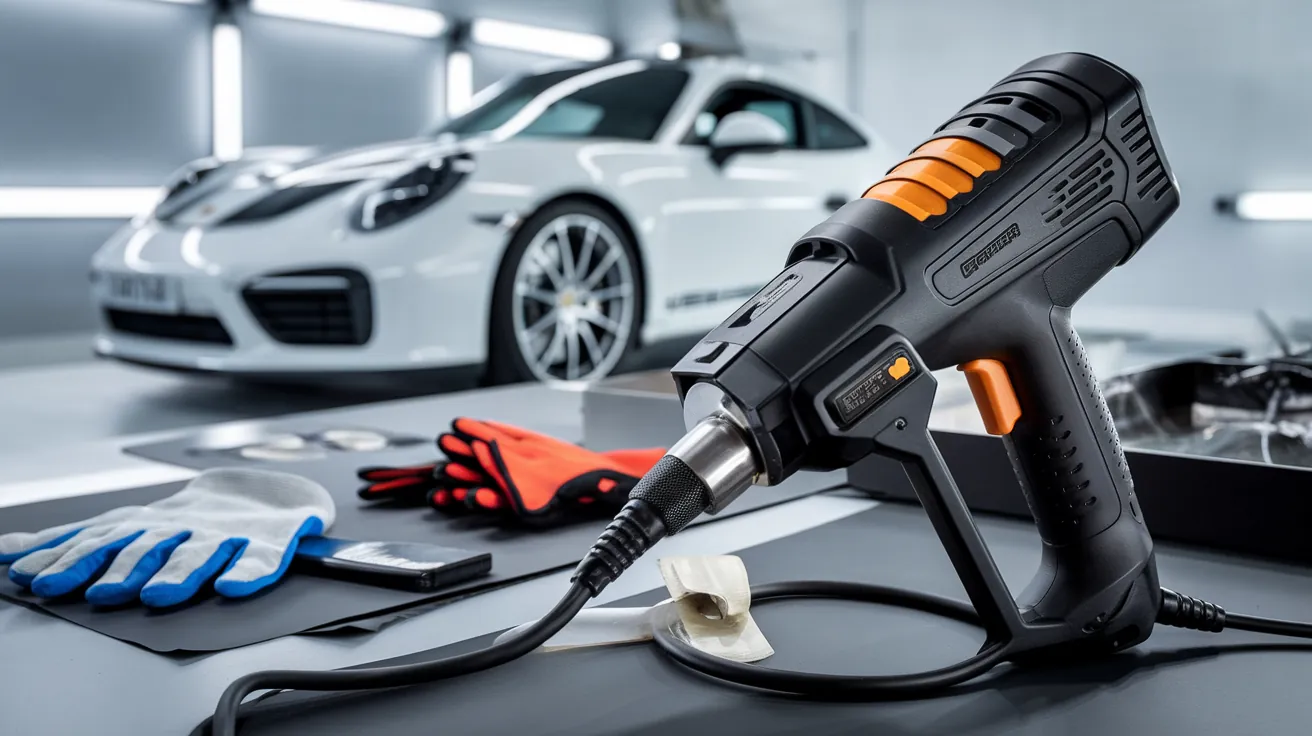
Identify the film before switching on the heat gun
Use a heat gun to make suitable vinyl easier to form, then complete the film’s specified finishing process. Temperature control matters, but so do clean paint, sensible material placement and firm adhesive contact.
This guide covers exterior automotive vinyl. Clear or coloured PPF, window tint, printed vinyl with an overlaminate and specialist decorative films can have different fitting instructions. A temperature remembered from another material is not a reliable starting point. Find the manufacturer, product range and finish on the roll or invoice, and open the matching installation document.
Many wrap films use pressure-sensitive adhesive. Heat is not a universal on-switch for the glue. For example, 3M’s 2080 product bulletin describes a pressure-activated acrylic adhesive and dry application. The film needs appropriate surface contact rather than simply a hotter pass over the outside.
Inspect the paint before choosing a test area. Peeling clear coat, loose repairs, corrosion and an unknown respray need assessment before film is attached or lifted. Wax, coating residue and dirt also need the appropriate preparation. Heating cannot turn an unsuitable surface into a sound one.
Practise with an offcut of the same film on a suitable practice panel. Learn how its finish looks before and after forming, how easily it repositions and what the manufacturer permits. A spare piece of gloss cast vinyl does not establish the limits of the metallic or textured film going onto the car.
Separate workshop conditions, shaping heat and post-heating
There are three different temperature questions. Is the air, panel and film within the permitted application range? How warm may the film become while it is being shaped? What surface temperature is required for the final post-heat treatment? Mixing these stages can produce a number that is correct for one task and damaging for another.
| Film and stage | Documented temperature | What the figure means |
|---|---|---|
| Avery Dennison Supreme Wrapping Film forming | 40–55°C | Film temperature recommended to help form curved shapes in EU technical bulletin 3.12 |
| Avery Dennison Supreme Wrapping Film post-heating | 90–95°C | Final treatment of the specified shaped surfaces in that same bulletin |
| 3M 2080 special-finish stretching guidance | Do not exceed 65°C | Surface limit in the FAQ’s special application guidance, including Carbon Fiber and Metal finishes. This is not a post-heat target |
| 3M 2080-GC451 chrome post-heating | 200–225°F Approximately 93–107°C | Film temperature in its separate chrome product bulletin, after removing the protective layer |
Read the scope as carefully as the number. Avery Dennison’s application bulletin, the 3M 2080 installation FAQ and the separate 2080-GC451 chrome bulletin are examples, not interchangeable recipes. Use the current instructions supplied for your exact material and region.
The heat gun’s display usually describes its output setting or measured outlet air. It does not tell you the vinyl temperature. Distance, airflow and the time spent over an area all change the heat reaching the surface. Setting the gun to a number in the table will not automatically bring the film to that number.
For the same reason, a maximum service-temperature figure is not necessarily a fitting instruction. Do not use a product’s resistance to heat after installation as permission to expose it to that temperature while stretching. If a supplier document leaves the stage unclear, resolve it before working.
Set up a controlled workspace and a safe place for the tool
Bring the car out of direct sunlight and allow the panel to reach suitable working conditions. Check the actual panel as well as the room. A car arriving from outdoor parking can have uneven surface temperatures, so one workshop air reading does not describe every part of it.
Keep cleaners, open solvent containers and flammable waste away from heating work. Follow their labels and safety data sheets, allow the required drying and maintain ventilation. The 3M product bulletin also warns that liner removal can create static sparks around flammable vapours. A heat gun is not a shortcut for drying a freshly solvent-wet panel.
Inspect the cable, plug and tool before starting, route the lead away from your feet and the vehicle’s finish, and provide a stable manufacturer-approved resting position. The nozzle remains hot after switching off. Keep it away from loose liner, towels and film scraps while it cools, and follow the tool’s cooling procedure before packing it away.
Choose controls you can adjust comfortably. Our heat-gun buying guide compares equipment separately. Here, the useful question is whether you can deliver repeatable heat without losing control of the film or needing to stretch across a hot nozzle.
There is no universal safe gap such as five centimetres for every gun and panel. Bosch’s GHG 20-63 manual explains that distance depends on the material and working method, and recommends testing from a greater distance and lower power. Keep a generous starting clearance and adjust through measured tests. A narrow nozzle or a change in airflow requires a fresh check.
Measure the vinyl surface rather than trusting the display
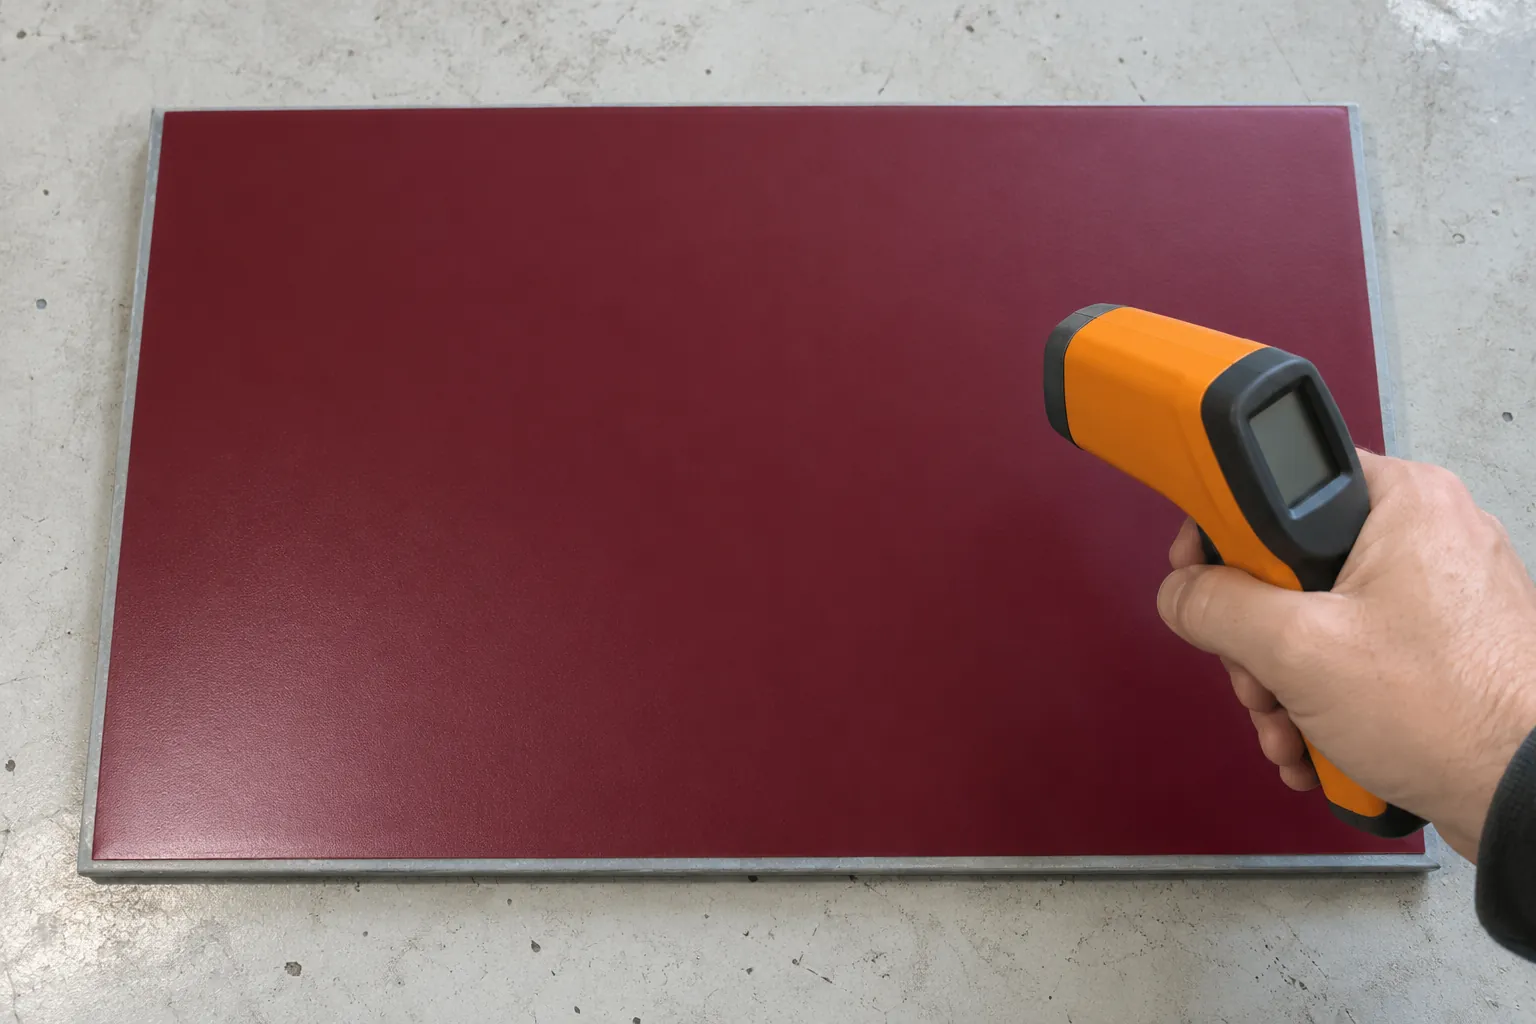
Use a surface thermometer suitable for the job, with a range and accuracy that cover the film’s required temperatures. Check the unit is set to Celsius or Fahrenheit as intended. A decimal on a display indicates resolution, not a promise of equal accuracy.
An infrared thermometer reads an area, not only the laser dot. Its distance-to-spot ratio helps you choose a working distance that keeps the measurement on the intended surface. For a nominal 10 to 1 ratio, a 30 cm measuring distance corresponds to a roughly 3 cm spot, subject to the instrument’s actual field-of-view specification. A narrow edge may be smaller than that target.
Fluke’s infrared measurement guidance explains spot size and emissivity, the way a surface emits infrared energy. Reflective finishes can complicate readings. Follow the instrument and film supplier’s measurement method rather than assigning one emissivity setting to every finish.
Pause the heating pass, move the gun clear and take readings across the area you have treated. Check the centre, the edge of the heated patch and the awkward return, where you can obtain a valid measurement. Keep your distance and targeting consistent. If the readings disagree unexpectedly, investigate the method before adding more heat.
Avoid heating until a single convenient point reaches the target and assuming the whole contour is finished. Record the film, required stage and measured area when practising. That simple note is more useful than remembering only a dial setting, especially when a different gun or nozzle is used later.
Warm, shape and apply the film in a controlled sequence
Plan the piece before heating it. Leave enough usable material for the intended coverage, agree any inlays or joins, and identify the clean termination points. A complex bumper is easier to approach when you already know which recesses are suitable for the film and which parts need another fitting method.
Start with a manageable practice area
Choose a small, accessible piece with a gentle curve before attempting a mirror cap or deep bumper recess. Prepare it according to the film instructions, arrange the squeegee and thermometer within reach, and make sure the hot tool can be put down safely. The practice should teach you what changes when you alter one control.
Keep the film’s original appearance in mind. Look at the colour, texture and reflections before warming it. If your practice piece develops a changed sheen, stretched pattern or permanent mark, pause and compare it with unused material. The aim is to learn the working method before committing a larger cut piece.
Position the vinyl before using heat
Support the sheet and establish its alignment without forcing the final shape. Check printed artwork or a directional finish before adhesive contact makes changes harder. Use the product’s permitted positioning method. Do not add water under a dry-application air-release film because you have seen it used for another type of film.
Decide where the film can lie naturally and where forming is needed. If a shallow curve already accepts the material, extra heating may add work without solving a problem. Repositioning early is usually a better decision than repeatedly warming a badly aligned section. Protect the paint when cutting and use a suitable knifeless or pre-cut method where appropriate.
Warm the area evenly and manage the tension
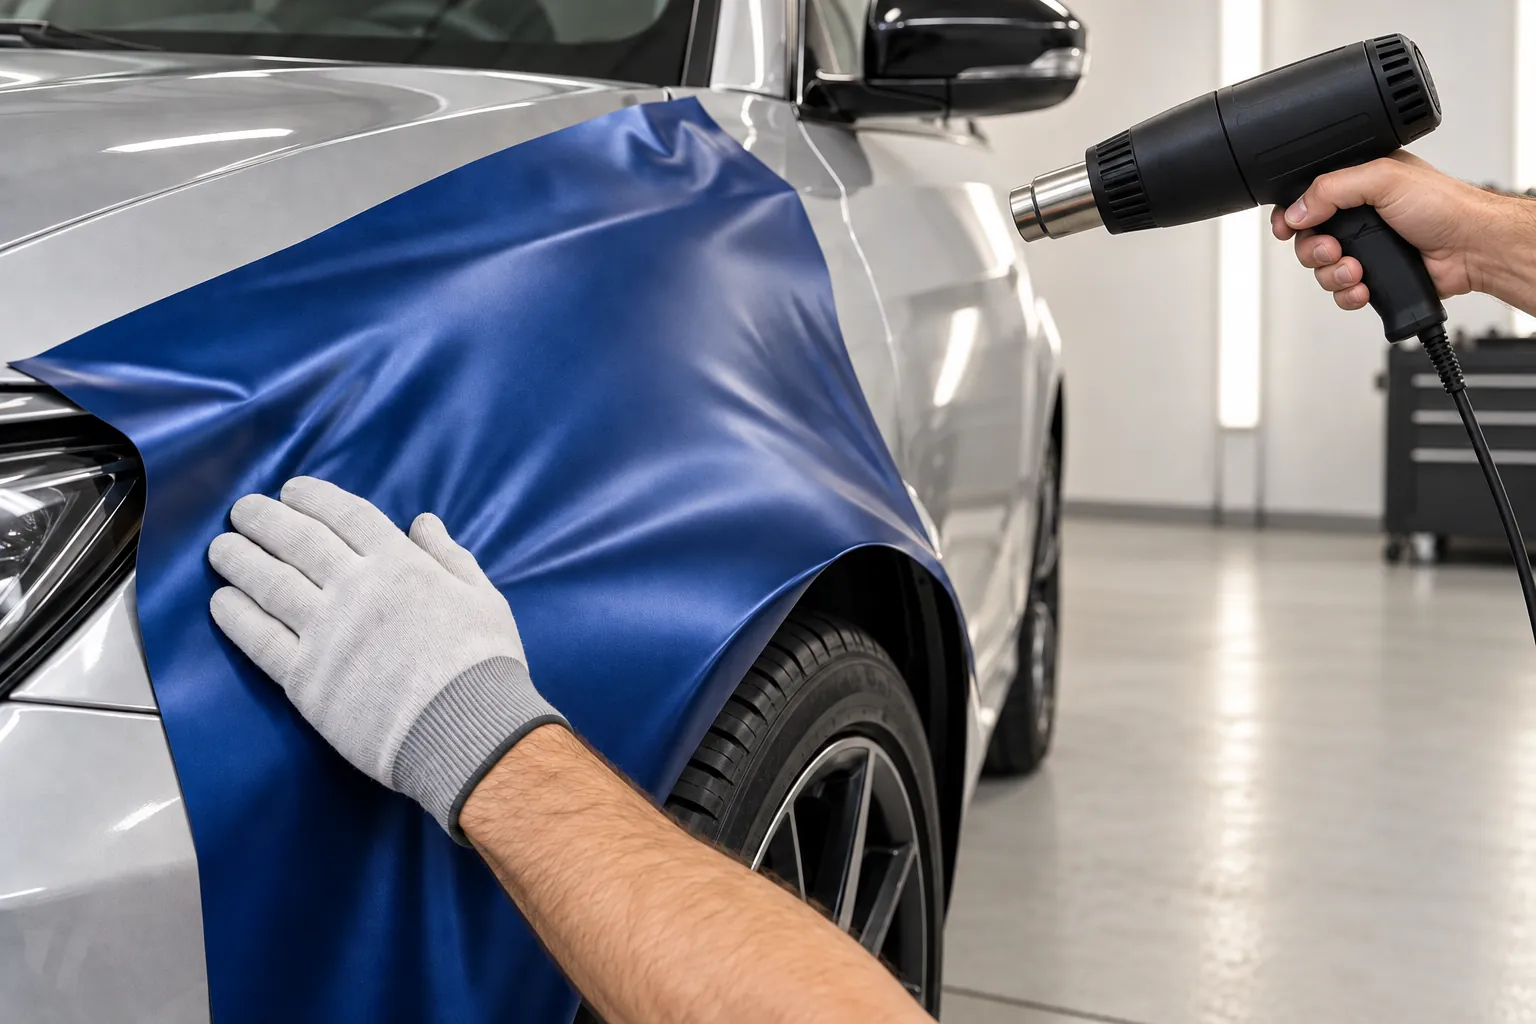
Use smooth passes across the area that needs forming, measure the response and stay within the product’s shaping limits. Avoid concentrating the entire adjustment into one tiny point. A small hot patch can be pulled much more than the surrounding material, leaving a visibly different area even when it appears to fit.
Guide the material into the intended shape with controlled tension. If the film needs increasingly forceful pulling to reach a recess, stop and reconsider the layout. A separate inlay may be appropriate where the product and design allow it. More heat is not permission to keep stretching until the piece reaches any contour.
Keep your hands and nearby materials out of the hot airflow. A soft wrapping glove helps with handling but should not be assumed to provide the heat protection required by the tool manufacturer. Put the gun down safely before changing your grip or reaching into a confined area.
Establish adhesive contact and inspect before finishing
Use the suitable squeegee face and the film maker’s pressure technique to achieve contact. Work in a controlled sequence that gives trapped air a route out where the film has air-release channels. Heating alone does not press an adhesive layer onto the paint, and a flat-looking surface can still have an unsupported area underneath.
Look over the panel before trimming or final post-heating. Check alignment, finish consistency, edges and any joins. If a crease or distortion remains visible, identify whether the piece can be repositioned within its instructions or should be replaced. Avoid locking a known problem into the finished installation just to complete the panel.
Post-heat the specified areas after a sound installation
Post-heating is a distinct finishing stage. It is intended for the areas and conditions named in the product instructions, often where forming has introduced stress. It does not mean taking every flat part of every film to the hottest temperature found in a generic guide.
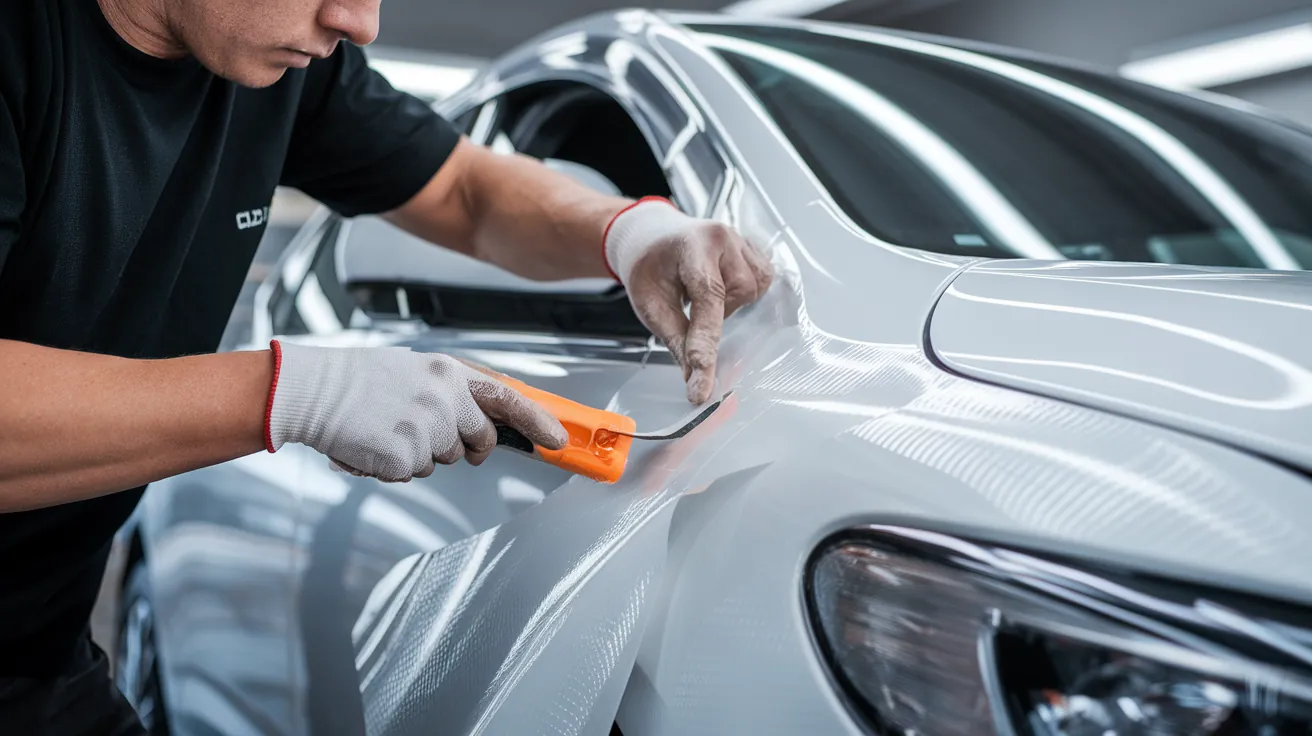
Before the finishing pass, confirm that the area is properly applied and that any removable protective surface layer has been dealt with at the correct stage. Do not confuse this top protection layer with the adhesive release liner. Check the particular gloss or high-gloss film’s instructions rather than assuming all finishes are supplied the same way.
Work methodically around the relevant shaped areas and measure the film as instructed. A useful approach is to note which sections are complete, especially when moving between a bumper return, an adjacent recess and a wheel-arch edge. A quick sweep that passes over all three does not prove all three received the required treatment.
Follow the specified re-squeegeeing or finishing sequence and allow the area to cool before the final inspection. Avoid repeatedly pulling the softened film during this stage. If the edge moves or a recess begins to bridge again, investigate the contact, tension and preparation rather than simply repeating a hotter pass.
Any required settling time, storage conditions and first-wash delay also come from the selected material. Do not substitute a fixed overnight period for every product. Post-heating is part of installation quality, while durability still depends on film choice, exposure, surface condition and care. It cannot establish a universal lifespan or a peeling-free warranty.
Adjust the plan for contours and nearby components
A large painted metal panel, a plastic bumper and a small trim piece do not present the same working area. Identify the substrate and surrounding parts before heating, then keep the treatment within both the film instructions and the vehicle’s limitations. Do not heat a component merely because the film beside it needs attention.
Bonnet or door
Check a broad area for consistent film appearance and contact. Keep readings on the vinyl rather than mixing in glass or exposed trim. A large piece benefits from a clear positioning plan before you start chasing isolated wrinkles.
Bumper or mirror cap
Plan material distribution around the shape, check permitted recess depth and avoid concentrating stretch at one corner. Adjacent lights, seals and plastic parts need protection from unnecessary heat.
Returns, joins and openings
Inspect the actual edge and any overlap. Heat does not weld two vinyl pieces into an invisible joint. Keep handles, camera views, washer outlets, sensor areas and charging access clear according to vehicle instructions.
Special finishes deserve a sample check after forming. A carbon-look pattern can reveal uneven stretching, and a reflective finish can show a changed appearance that another colour disguises. Good adhesion does not make a visibly distorted piece acceptable. Compare the treated sample in useful light before continuing onto the main panel.
If safe access would require removing unfamiliar trim or working near wiring, stop and arrange the appropriate help. Do not turn an exterior wrapping task into improvised work on electrical or high-voltage equipment. Limited access is a reason to revise the fitting plan, not to direct heat blindly behind a component.
Identify the problem before applying more heat
Several defects can look like a heating problem while needing a different response. Look closely at the shape and the surface, then decide whether a correction is permitted. The aim is to preserve the paint and material, not to make every mark disappear through repeated reheating.
| What you see | What to check | Sensible next step |
|---|---|---|
| Wrinkles collecting at one corner | Material position, available film and concentrated tension | Reassess the layout before increasing heat or pulling harder |
| Changed sheen, haze or a stretched pattern | Whether the finish has been permanently distorted | Compare with unused film and replace damaged material where necessary |
| A raised point or trapped pocket | Air, debris or an area without proper contact | Identify the cause before attempting an approved correction |
| An edge that lifts again after cooling | Preparation, contamination, tension and edge treatment | Assess the installation rather than applying repeated hot passes |
| A surface reading that changes unexpectedly | Measurement area, emissivity, working distance and units | Validate the reading before changing the heating method |
For trapped air, follow the film’s correction instructions. A heat gun does not remove a particle beneath the adhesive, and indiscriminate puncturing can damage the finish or paint. Our guide to vinyl bubble tools explains how to distinguish trapped air from debris and lifting before choosing a correction.
Stop immediately if the film smokes, scorches, discolours or the surrounding component changes shape. Do not continue because the temperature display seems correct. Switch off and put the tool down safely, let the area cool, then assess the material and substrate before deciding whether any further work is appropriate.
For an installed wrap that has started lifting, record the location and condition and contact the installer. Reheating an unknown or aged material may make a small defect harder to assess. The original film reference and fitting records help distinguish a local repair from a panel that needs replacement.
Check the cooled panel and leave clear handover notes
Review the film after it has cooled, in light that shows its surface clearly. Inspect edges, recesses, seams and the finish across adjacent areas. Check any moving parts or equipment affected by the fitting work. A smooth warm panel is not the same as a finished, stable installation.
Keep the product and finish reference, the instructions used and any panel-condition notes. For workshop work, record the relevant post-heated areas and give the owner the product-specific settling and washing advice. That creates a useful basis for a later enquiry without promising that heat alone prevents every failure.
If you are learning, compare the cooled practice piece with the unused sample and write down what changed when you adjusted distance, airflow or movement. Build the technique on simple shapes before committing to complex contours. When you cannot control the treatment or verify the result, professional fitting is the sensible next step.
Questions about using heat on a car wrap
Can I use a hair dryer instead of a heat gun?
A hair dryer is not a dependable substitute for a required, measured post-heat treatment. Its output may not bring the film to the specified temperature under your working conditions. Use equipment that can carry out the exact film instructions rather than relying on a general maximum-temperature claim.
Can I use a flame torch on wrapping vinyl?
Use the film manufacturer’s approved method. The 3M 2080 installation FAQ specifically says to use a heat gun and never a torch. An open flame adds hazards and should not be treated as an interchangeable heating tool in this guide.
How long should I heat each area?
There is no universal number of seconds. The tool, airflow, distance, movement, starting conditions and material affect the result. Check the required film temperature and any treatment duration in the product instructions, then verify the surface rather than timing an arbitrary pass.
Does a digital heat gun measure the wrap temperature?
Usually it reports a selected output or outlet-air reading. Unless the tool has a suitable surface-measurement system, use a separate surface thermometer and follow its targeting instructions. Check the manual to establish what the display actually reports.
Should I add primer if an edge will not stay down?
Do not use primer as a general repair for poor preparation or excessive tension. Confirm that the film manufacturer permits the specific primer and identifies where it should be used. Consider removal and substrate compatibility as part of that decision.
Can extra heat repair overstretched vinyl?
Do not assume it can restore a permanently changed colour, texture or reflective finish. Some permitted repositioning may be possible before final fitting, but damaged material needs assessment and may require replacement. Repeated heating is not a reliable rescue method.
Discuss the film and fitting work
Planning a wrap or concerned about a lifting edge?
Send your vehicle model, the film reference if known and clear photos of the panel. We can discuss the proposed coverage or arrange an assessment of the affected area at our Al Quoz workshop.