
Measured conditions for vinyl fitting
How to Measure Car Wrap Surface Temperature
Measure the intended panel or vinyl area with a suitable surface thermometer. Check the target size, surface finish, units and working conditions before using the number to make a heating decision. This guide explains how to detect misleading readings and condensation.
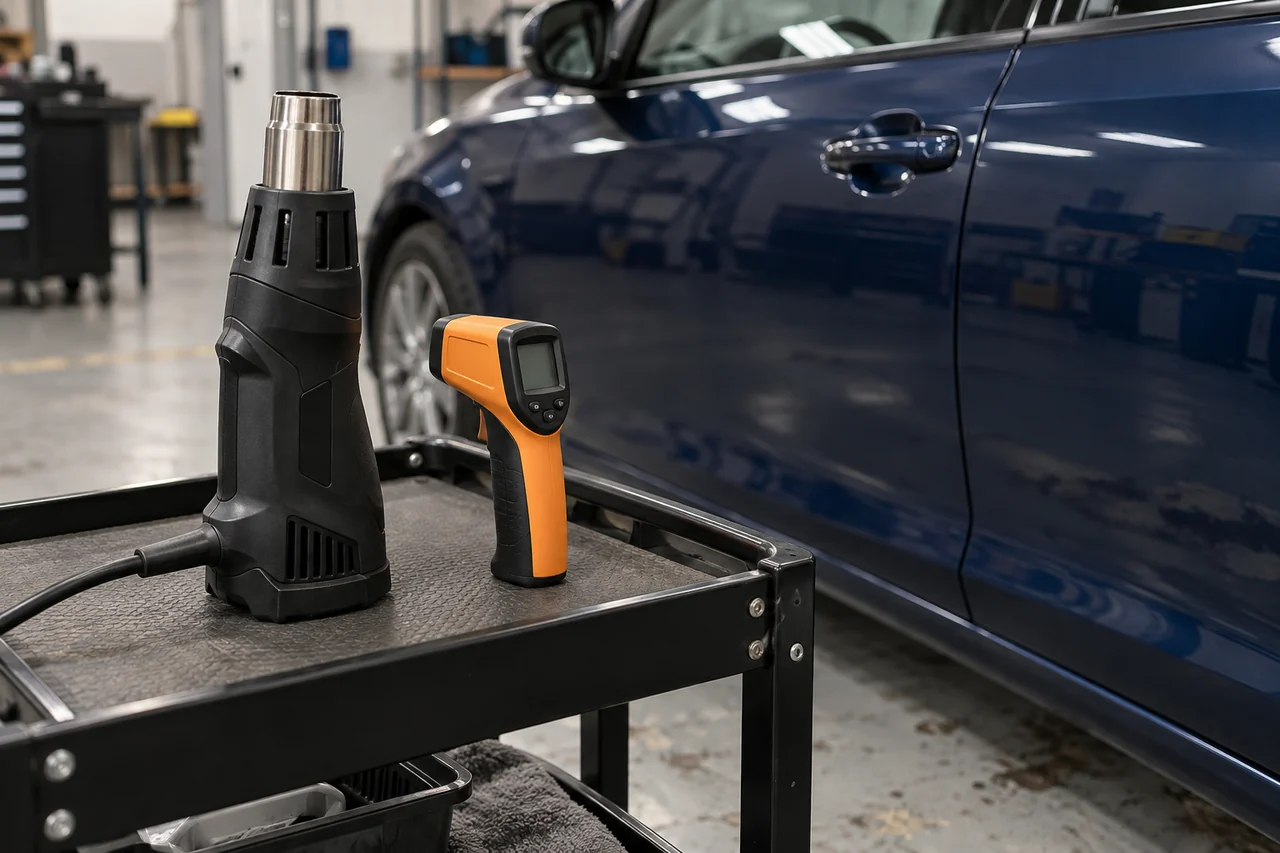
Measure a wrap surface in five steps
Use a suitable surface thermometer on the actual panel or film. Prepare the meter, keep its measurement spot inside the target and compare the result with the exact film instructions for that stage.
- Identify the requirement. Note the film, finish, fitting stage and applicable surface-temperature limits.
- Prepare the instrument. Confirm units, operating conditions, measurement mode and the permitted surface setting.
- Choose the target. Use the meter’s optical diagram to select a distance where the whole measurement spot fits within the required area.
- Take the reading. Keep the sensor’s view clear. During heating checks, move the heat gun away as the film procedure directs and read the intended surface.
- Check and record. Compare with the applicable limits, investigate unexpected results and note the location, stage and method. Check other relevant areas individually.
Know which temperature the number describes
Car wrap temperature control starts with the air, the panel and the film. They can be at different temperatures even in one workshop. Identify the surface being measured and the fitting stage before deciding whether to warm the material, wait or change the working conditions.
The heat gun display adds a fourth reading. It normally describes selected output or outlet air, depending on the tool. It does not establish the temperature of the vinyl. The same setting can produce different results when the nozzle, airflow, distance or movement changes.
| Reading | What it describes | What it cannot establish |
|---|---|---|
| Workshop air | The environment around the car | Every panel’s actual temperature |
| Bare panel | The intended bonding surface before fitting | The later temperature of heated vinyl |
| Vinyl surface | The measured film area during treatment | All adjacent edges and recesses |
| Heat gun output | The tool’s selected or reported hot-air value | A verified film-surface temperature |
Identify the film and stage before interpreting a reading
Find the exact film range, finish and applicable installation instructions. Application conditions, warming for forming, final post-heating and service-temperature limits answer different questions. A correct reading for one stage does not approve the next.
Our heat-gun technique guide holds the film-specific temperature examples and application sequence. Use that sequence with the current regional instructions for the supplied material.
If documents disagree, check product identity, region, revision and stage. Do not average the figures or choose the hotter one. Resolve the applicable requirement with the film supplier before treating the vehicle.
Let the vehicle reach suitable working conditions
Bring a sun-heated vehicle into a suitable indoor bay and allow its surface to settle within the film’s application conditions. Measure several relevant panels. A shaded door can differ from a roof or hood that has spent the journey in direct sunlight.
Allow the roll and application supplies to reach suitable conditions too. Film brought from different storage conditions should not be judged only by how warm the room feels. Plan this waiting time before exposing a large adhesive area.
Avery’s acclimation guidance explains the need to let cold film return to ambient temperature and provide the specified dwell conditions after fitting. The practical lesson applies to workflow planning. A warm surface pass cannot replace an unsuitable overall environment.
Choose measuring locations that represent the work about to begin. Check the outer face and accessible return when both will receive film. If a door has been opened for access or the vehicle has moved between bays, assess the area again before continuing.
Check moisture as well as the temperature
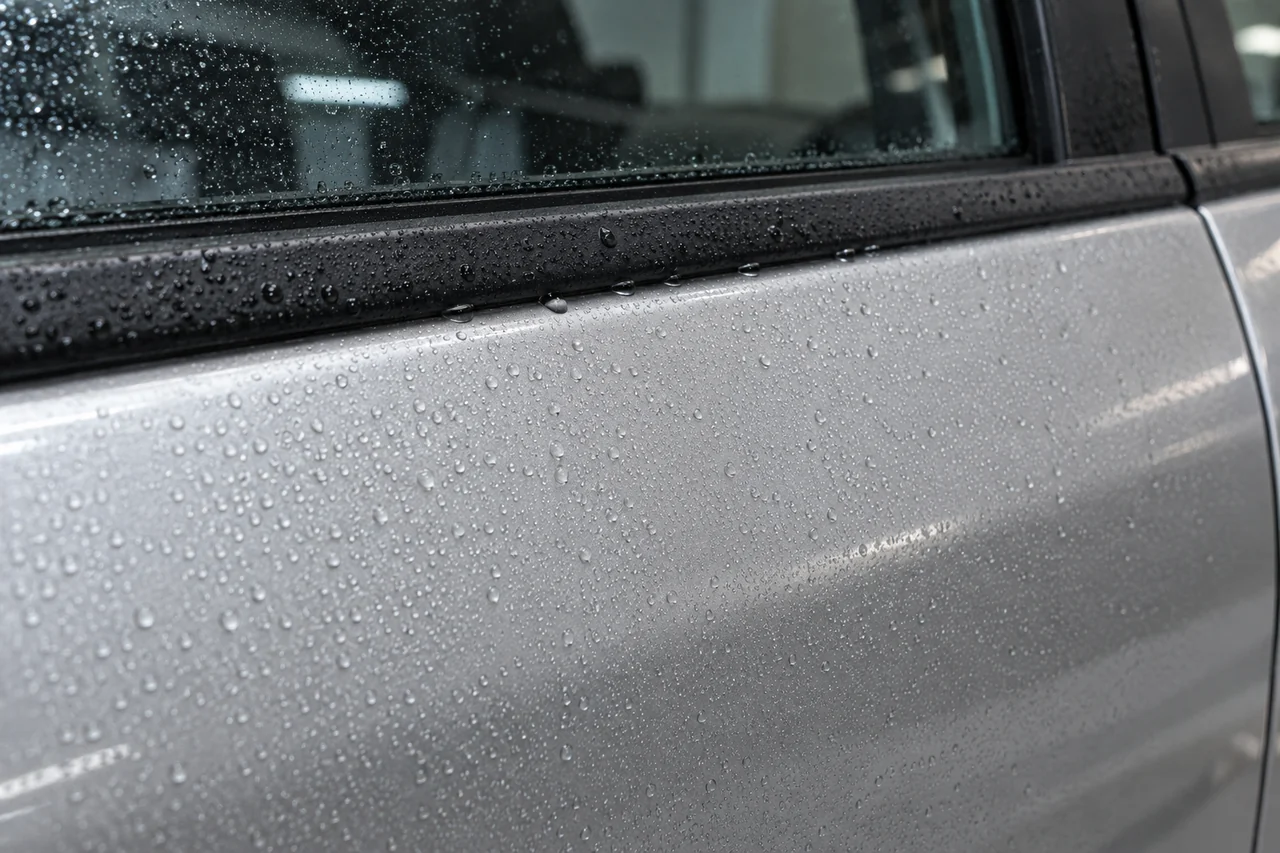
A cold surface can collect moisture when exposed to warmer humid air. The dew point is the temperature at which that moisture can condense. A panel can therefore need drying and environmental adjustment even when it was clean before moving between areas.
The 3M dry-application bulletin requires the substrate to remain above the dew point and within the relevant film limits. Where condensation is a concern, measure air temperature and relative humidity with suitable equipment, obtain the dew point, then compare it with the measured panel temperature. An air-temperature reading alone does not establish the condensation risk.
Inspect the paint near seals and accessible returns. Distinguish new condensation from wash water retained in a gap. Both need attention before adhesive contact, but they can require different changes to the preparation plan.
If moisture keeps returning after wiping, pause fitting and resolve the conditions. Repeated wiping while exposing more adhesive does not address an ongoing condensation problem. Protect the prepared area while it becomes suitable and inspect it again afterward.
Keep the thermometer’s target on the intended area
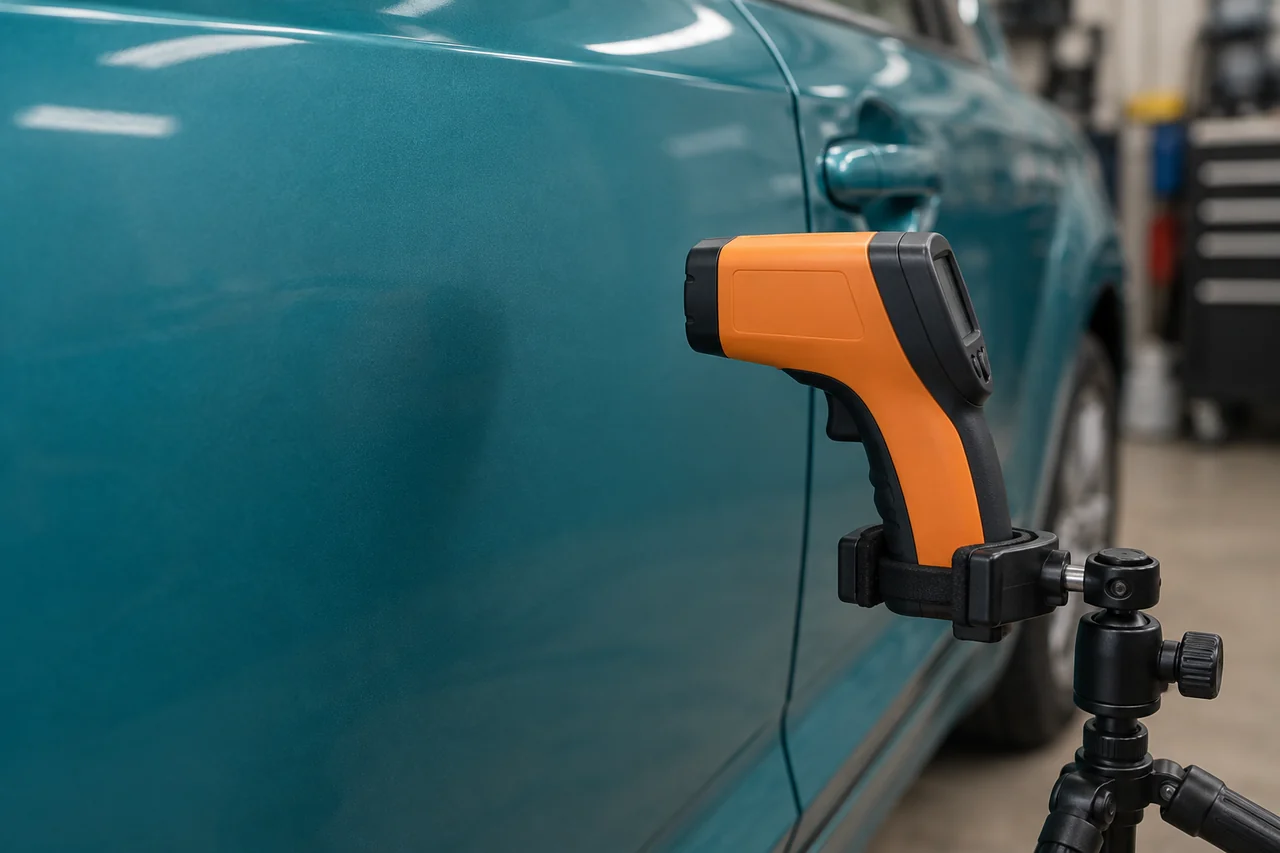
An infrared thermometer measures a spot of surface area. The aiming dot helps position the instrument, but it does not necessarily show the full measurement footprint. At a greater distance, that footprint usually becomes larger.
Use the instrument’s distance-to-spot specification and field-of-view diagram. Dividing distance by a nominal ratio gives only a rough spot-size estimate. The optics may impose a minimum spot size, so moving closer does not necessarily make a narrow edge measurable. Check the diagram at your actual working distance and keep the entire spot within the target.
Fluke’s infrared measurement guidance explains optical resolution and target size. A narrow wrapped return may be too small for a broad measurement spot. A reading that includes surrounding trim or another panel may not describe the intended vinyl area.
Choose an accessible measuring position before heating. Maintain a repeatable distance and keep the sensor’s view clear. Glass, smoke or steam between the instrument and the panel can interfere with the reading. If you cannot keep the target on the required area, use a suitable alternative measurement method instead of treating the nearest convenient surface as equivalent.
Allow for the finish when interpreting infrared readings
Emissivity describes how a surface emits infrared energy. The instrument uses this property to interpret a temperature. Reflective surfaces can make readings more difficult, so a setting used successfully on one finish does not automatically suit another.
Fluke’s infrared calibration guidance explains that material and surface finish affect emissivity and reflected energy. Follow the meter’s instructions and the film supplier’s measurement advice when checking chrome-look or other highly reflective material.
Do not set emissivity by visible color alone. An orange film and a blue film are not necessarily different measurement surfaces simply because their colors differ. The finish and instrument method deserve attention before a reading becomes a heating decision.
A suitable contact surface probe may help validate an uncertain measurement where the surface, access and supplier instructions permit it. Use appropriate contact equipment without damaging the finish. Avoid attaching improvised tape or coatings to fresh vinyl to create a measuring patch.
Check the meter before trusting repeated readings
Confirm Celsius or Fahrenheit, the operating range, battery condition and any selected measurement mode. A stored maximum value is different from a current reading. Check what the screen is showing before deciding that the panel has changed temperature.
Inspect the sensing window and follow the supplier’s cleaning instructions. A tool that has been dropped or exposed to unsuitable conditions needs assessment. Let the instrument acclimate as its manual requires rather than taking it straight from a different environment into critical measurements.
Resolution is the smallest displayed increment. Accuracy describes measurement error under specified conditions. More decimal places do not make an unsuitable instrument dependable. Choose equipment whose stated range and accuracy fit the relevant application and finishing checks. If the stated measurement error could put the actual temperature outside an allowed limit, the display alone does not establish that the requirement has been met. Resolve that uncertainty before continuing.
A practical comparison can reveal an unexpected disagreement, but it is not a substitute for calibration. Follow the supplier’s verification and calibration requirements. Do not invent a daily or monthly calibration interval or assume that a boiling-water check validates non-contact readings on reflective vinyl.
Before replacing a meter, check whether the discrepancy follows the tool or the method. Different units, target sizes, emissivity settings and locations can explain different numbers. Record those conditions so the comparison is meaningful.
Record the area and stage with the result
A useful temperature note identifies the film, panel, fitting stage, instrument and measured location. Add the unit and relevant target setting. A number without that context cannot explain whether a panel was ready for fitting or a shaped area received its finishing treatment.
When practicing, change one control at a time and observe the result. Record the starting surface temperature and the tool or nozzle used. That gives the next test a meaningful basis and helps explain why the same dial position behaves differently after a change.
Avoid presenting a photograph of one thermometer display as proof that every recess was finished. A photograph records one observed moment. Combine relevant measurements with inspection of contact, edges and the material’s appearance.
| Record | Include | Why it matters |
|---|---|---|
| Target | Panel, exact location, film and finish | A door face and narrow return are different targets |
| Stage | Before fitting, forming or final treatment | The applicable requirement changes with the stage |
| Method | Meter, units, distance and relevant surface setting | Another installer can reproduce the measurement |
| Result | Reading and any moisture or visible defect | A number cannot override a damaged or wet surface |
Separate heat adjustment from cleaning and measuring
Use controllable equipment and a stable place to rest it. Clear loose liner, cloths and film scraps from the hot nozzle’s resting area. Check access to the panel so measuring it does not require reaching across the heat source.
Keep heating work separate from wet solvent preparation. Follow the chemical label and safety data sheet for drying, ventilation and ignition precautions. The Bosch heat gun manual warns about hot airflow and nearby flammable materials, including materials outside the immediate visible working area.
Move the heat source clear when taking the reading, following the film’s measurement procedure. Avery’s Supreme Wrapping Film instructions specifically call for checking surface temperature without the gun pointed at it.
Recheck conditions as the job moves around the car
Choose a few consistent locations for repeated checks while moving around the vehicle. A broad panel, a narrow return and a shaped bumper area may need different targeting positions. Make sure each reading stays on the surface relevant to that stage.
Watch changes caused by opening a bay door, moving the vehicle or changing the work area. A suitable morning reading does not approve all later work. Check again when the environment or the panel’s recent treatment has materially changed.
When two installers share the job, agree the units and the measurement method. Note completed finishing areas and anything still waiting for inspection. This reduces reliance on assumptions when one person takes over after a break or moves to the opposite side.
Keep cooling and measurement separate
A falling reading shows that the measured area is cooling. It does not prove adhesive contact, eliminate film tension or confirm that every post-application holding requirement has been met.
Do not apply freeze spray, refrigerant or cold gas to lock down an edge. A cooling product intended for electronics is not an approved vinyl installation treatment. Follow the selected film’s procedure for cooling and settling.
A gun's low-temperature or cooling mode is a tool feature. Its name does not establish permission to alternate hot and freezing treatment on a wrapped panel.
Inspect the settled film before calling the panel complete
Check the finish once the relevant treatment and cooling sequence is complete. Use light that reveals reflections, texture and edges. Look for changes that were difficult to see while the material was soft or being held in position.
Inspect wrapped returns, recesses and joins within the agreed coverage. An intact flat face does not establish that a hidden boundary has full contact. Follow the product’s permitted finishing and re-squeegeeing procedure rather than inventing an aggressive pull test on the paint.
If an edge changes position or the film bridges away from a recess, record the area and identify the cause. A correct reading at another location does not resolve this defect. The fitting plan may need local correction or a replacement piece.
Investigate a surprising number before adding heat
Pause if the reading does not fit what has changed. Begin with the unit, screen mode, target area and surface setting. Check that you have not moved from film to trim, widened the measurement spot or compared a stored peak with a current temperature.
If the material shows haze, a changed texture, discoloration or deformation, stop the treatment even if a display appears acceptable. Assess the film and nearby components after cooling. A measurement is one observation, and it should agree with the physical result.
Do not use an uncertain low reading as permission for more heat. Validate the targeting method or use suitable technical help. Where the material is unknown or the measuring area cannot be reached reliably, pause that treatment until the method is resolved.
- A sudden change at a gap. Check whether the spot includes a different material or an opening.
- Different results from two meters. Compare units, location, operating conditions and surface settings.
- A normal reading beside visible damage. Stop and assess the material rather than trusting one nearby point.
- A repeated lifting edge. Review preparation, contact and tension as well as the finishing record.
Leave product-specific settling advice at handover
Post-application holding conditions and first-wash instructions belong to the selected material. Record them alongside the film reference. A panel being cool enough to inspect does not establish that every settling requirement has been completed.
At collection, keep the film reference, holding or washing guidance and the installer’s contact details. Clear photos of the whole panel and the affected edge help an installer assess a later issue. Avoid attempting a freeze-spray or heat repair on an unknown installed film.
Questions about measuring car wrap temperature
Can I measure the panel through a car window?
No. An ordinary infrared surface thermometer does not establish the temperature of a panel behind glass. Keep a clear line of sight to the intended surface and follow the instrument’s manual.
Is the heat gun display the temperature of the vinyl?
Usually it reports selected output or outlet air. Check the tool manual, then measure the relevant surface with suitable equipment. Do not transfer the displayed gun value directly into a film-surface target.
Can I use freeze spray to lock a wrap edge?
No. Do not use freeze spray to repair or lock down a wrap edge. The film instructions referenced here describe controlled heat and cooling, without approving electronics freeze spray as an installation treatment. A lifting edge needs assessment of preparation, contact and tension.
Why does my thermometer give different readings at a door gap?
The measurement spot may include trim, an opening or another surface. Check the instrument’s optics and distance before comparing readings. Keep its target within the intended film area.
Does room temperature prove that the car is ready to wrap?
No. Check the relevant panel and film conditions too. A vehicle arriving from direct sun or different storage conditions can need time to reach suitable application conditions.
Should I use the same infrared setting on every finish?
Follow the instrument and material guidance. Reflectivity and surface characteristics can affect infrared measurements. A setting used on one film does not establish the correct method for another.
Can cooling repair permanently distorted vinyl?
Do not assume it can. Inspect the settled material and compare its appearance with unused film. Permanent color, texture or pattern changes may require a replacement piece.
How long should I wait before measuring a heated area?
Use the film’s measurement and finishing sequence. Move the heat source clear as directed and measure the intended area consistently. There is no single waiting period that applies to every film and stage.
Does a correct temperature reading prove the installation is sound?
It confirms one measured condition. The surface suitability, adhesive contact, material tension, appearance and specified finishing work still need checking. Keep the measurement and physical inspection together.
Planning the fitting work
Discuss the film and the affected panels
Send your vehicle model, the film reference if known and clear photographs of the planned coverage or an existing concern. Wrapping.ae at AMF Auto Services LLC in Al Quoz, Dubai, can discuss the fitting scope. Arrange a visit before traveling.