
Tools and technique
Air Bubble Removal Tools for Vinyl Wraps
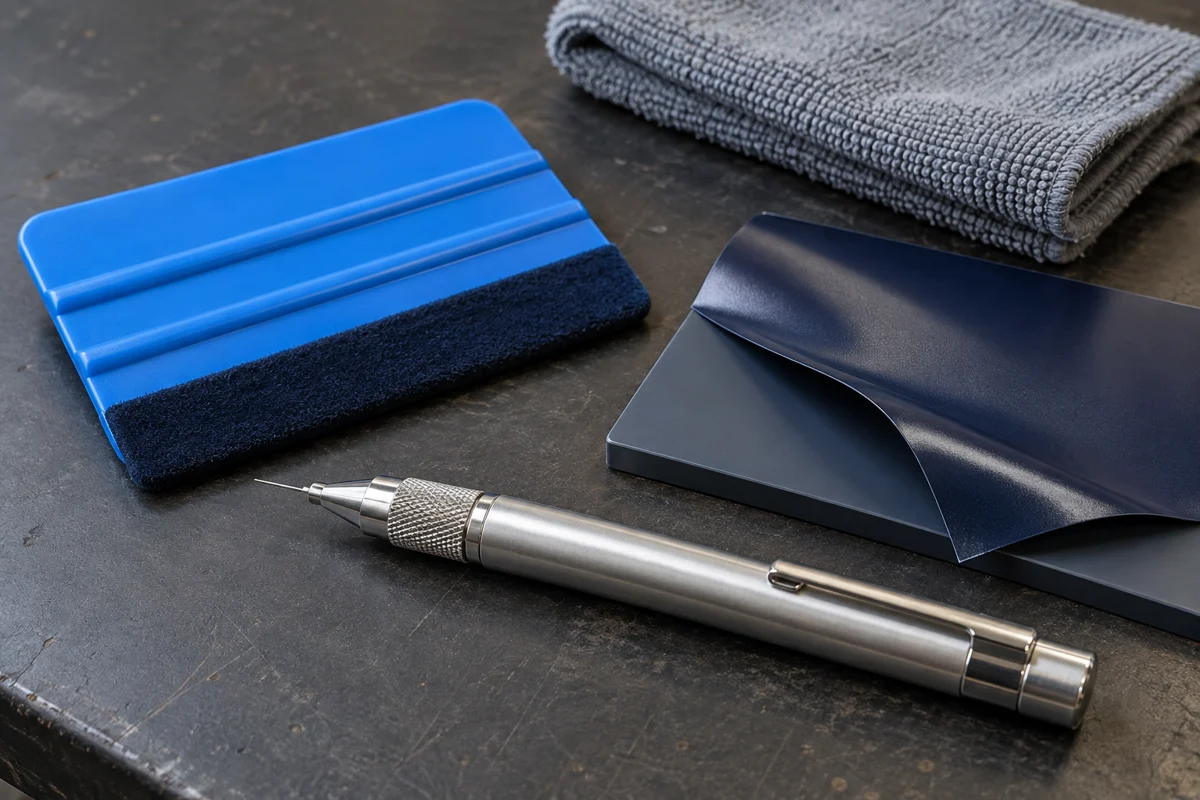
A felt-edged squeegee helps move air out during application. A fine air-release pen can vent a remaining pocket when the film maker allows it. First check that the raised spot is trapped air, rather than debris or lifting film.
Check what is underneath the raised spot
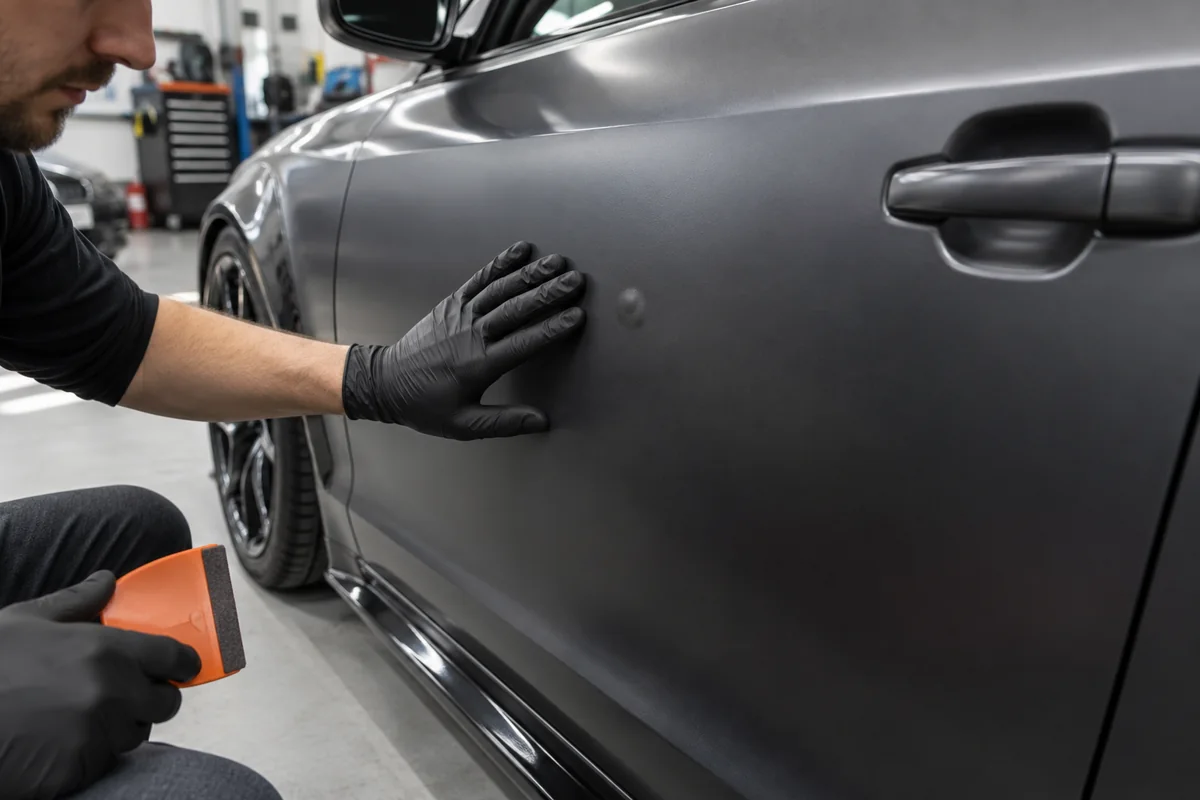
A bubble-removal tool is useful only when air is the problem. A smooth pocket that changes shape under very light pressure may contain air. A sharp, fixed point can be dust or grit. Film spanning a body recess may be lifting or bridging, even if it looks like a large bubble from a distance.
Those clues help decide what to inspect. They do not prove that it is safe to puncture the film. Look at the surface in good light, identify the material and consider when the defect appeared. A new pocket on an aging wrap deserves a different assessment from air trapped while laying fresh vinyl.
Color-change vinyl and PPF need separate checks
Many color-change wrap films use a dry application method. Wet-applied paint protection film uses a different installation process, and a visible pocket may contain application liquid. Do not transfer a vinyl puncturing method to PPF simply because both are fitted over paint. Ask the installer to identify the pocket and follow the specific protection film's instructions.
Understand what air-release adhesive can do
Air-release, air-egress and air-escape describe pathways in certain film adhesives that help trapped air leave during application. They are not holes through the visible face of the wrap. The release liner is the backing removed before fitting. Once it is peeled away, the adhesive surface must remain clean.
Repositionability describes a different property. It allows the installer to adjust the film within the permitted application stage. A film can have both features, but the presence of air channels does not mean it can be lifted indefinitely after bonding. Avery Dennison's explanation of Easy Apply and Easy Apply RS distinguishes air-egress technology from repositionability and slidability before pressure is applied.
This matters when choosing between another squeegee pass and resetting the material. During fresh laydown, an available route may let air move out. Once that route is blocked, squeezing the same spot harder may only relocate the pocket or leave a mark. Check the film's permitted correction method rather than assuming its air-release label guarantees easy recovery.
Choose the tool for the job in front of you
For laying fresh vinyl, start with a clean squeegee suited to the film and panel shape. For a remaining air pocket, a purpose-made release pen gives more control than an improvised sharp object. Neither replaces preparation or correct application.
| Tool | Useful role | Main limitation |
|---|---|---|
| Felt-edged squeegee | Applies pressure and guides air toward an available exit during laydown | A dirty or damaged working edge can mark the surface |
| Fine air-release pen | Makes a small vent in suitable vinyl when its instructions permit puncturing | Does not remove dirt, repair adhesive failure or undo a crease |
| Heat gun and thermometer | Control film temperature during specified fitting and finishing work | Heat is not an exit route for trapped air |
| Small application roller | Presses film into suitable shapes where the manufacturer specifies it | Not a universal remedy for a lifted recess or every finish |
Two documented air-release tools
The 3M Air Release Tool 391X is designed to puncture applied graphic film to release trapped air. Avery Dennison also lists a retractable air-release pen in its application tools. These are examples of the tool category, rather than a claim that one is best for every wrap.
Look for a secure grip, a fine undamaged tip and a cover or retracting mechanism for storage. Keep the squeegee's felt clean and replace it when worn. A more expensive pen cannot compensate for using the wrong method on an incompatible film.
Match the squeegee to the panel and finish
Match squeegee stiffness and shape to the panel. A flexible applicator may follow a curve more easily, while a firmer one can provide a steadier edge on a flatter area. Check the product guidance.
Choose by stated hardness and intended use, rather than color. Suppliers use different color codes. A narrow detail tool reaches awkward areas but concentrates pressure over a smaller contact area.
Check the working face
Look for grit in the felt, a nick in the plastic or a worn cover that exposes a hard corner. Put the tool aside if it catches on a scrap sample. A clean cloth on the bench does not guarantee that the applicator itself is clean.
Keep strokes deliberate
Plan where each stroke will move air. Avoid alternating random directions over the same pocket. If a stroke leaves a line or drags instead of sliding as expected, stop and inspect the tool, surface and method.
Felt helps protect the surface during appropriate application. It is not a guarantee against marking. Do not add water, a lubricant or cleaner under a dry-application film to make the tool move more easily. Follow the film maker's guidance for any permitted surface aid.
Check the film layers before treating a surface mark
A release liner underneath the adhesive and a removable protective layer on top perform different jobs. Neither is the installed color film itself. Some products have a temporary top layer to help protect the finish during application, so an apparent surface defect should be inspected with that construction in mind.
For example, the 3M Wrap Film Series 2080 product bulletin identifies a clear protective layer on gloss and high-gloss color films and requires its removal before post-heating. This instruction belongs to those products. Do not assume that every gloss, satin or matte vinyl has an equivalent layer.
Ask the installer to identify the layer and inspect the actual finish before approving a puncture. A thin removable cover should not be confused with a permanent overlaminate used on some printed graphics. Peeling an unidentified transparent layer can remove material that was meant to stay.
A flat line is not an air pocket
A crease, a scratch, an adhesive line or a change in sheen needs a separate assessment. If the mark has no raised volume to vent, a release pen has no useful role. Inspect from several angles without repeatedly heating or pressing it. Record whether it changes with the reflection, follows a previous tool stroke or sits where the film was lifted.
For matte and satin finishes, judge the consistency of the sheen as well as flatness. A surface can be physically smooth and still show a conspicuous patch. Do not try to hide that patch with ordinary paint polishing unless the film maker specifically permits the treatment.
Make these checks before touching an installed wrap
- Identify the filmFind the manufacturer, range and finish from the invoice or installer. Printed graphics, color-change vinyl and PPF are not interchangeable.
- Record the conditionTake a close photograph and a wider view showing the panel. Note whether the pocket appeared at collection, after washing or much later.
- Check the paint historyTell the installer about a respray or previous paint repair. Lifting film without assessing the substrate may create a separate problem.
- Ask about warranty handlingContact the original installer before heating or puncturing a recent wrap. Let them explain how inspection and any correction will be handled.
Do not repeatedly rub the spot while deciding. A hard point under the film remains a hard point when pressed. If the surface is splitting, the finish is changing or the pocket grows, leave the area alone for assessment.
Give trapped air a controlled route out
This sequence describes the decisions involved in correcting compatible vinyl. It is not an instruction to puncture every installed wrap. Practise on a spare film sample before working on a car, and let the installer handle uncertain or warranty-related defects.
- Inspect and identify. Confirm the pocket contains air and check the current instructions for the film. Move a sun-heated vehicle into a suitable workspace and allow the panel to reach the specified working conditions.
- Check for an existing exit. During fresh application, guide air toward the open edge with controlled, overlapping squeegee strokes. If the film has air-egress adhesive, follow its handling method. Stop when pressure is marking the finish or simply moving the pocket around.
- Decide whether to reset the film. A fresh section may be repositionable within the product's permitted application stage. That does not mean an old bonded panel can be peeled and reused without consequences. Contamination, adhesive marks and distortion can make replacement more sensible.
- Vent only when appropriate. If the manufacturer permits it and a pocket remains, use a fine release tool to make a neat, minimal puncture through the film. Avoid driving the point into the painted surface. An inexperienced user should leave this step to the installer.
- Guide air toward the vent. Use controlled pressure from the closed side of the pocket toward the opening, following the film's application guidance. Do not slash the film or create a series of holes to chase a defect.
- Finish and inspect. Follow the product's specified heating and finishing sequence. Recheck after cooling and under a different lighting angle. If the pocket returns, investigate adhesion and tension rather than repeating the puncture.
Avery Dennison's Supreme Wrapping Film application bulletin specifies an air-release tool or straight pin for remaining bubbles and rules out a knife or blade for that task. A knife used to trim film is not a substitute for a fine venting tool.
Heat settings belong to the film, not the bubble
There is no single heat-gun temperature for all bubble correction. The tool's outlet temperature and the temperature of the vinyl surface are different measurements. A hotter setting, a closer nozzle or a stationary heat source can change the surface quickly.
Keep initial shaping, bubble correction and final post-heating separate. The temperature and timing for one stage should not be copied into another. Use the current bulletin for the exact film and region, with the specified measurement method.
For example, 3M's vehicle graphics application instructions explain bubble venting and warn that a cut or torn film can fail prematurely. They also direct color-change applications to separate guidance. That is why this guide does not prescribe one generic post-heating temperature for every wrapped car.
Dubai sunshine is not a controlled finishing process. Parked-panel temperature varies, and heating a sealed pocket does not provide somewhere for its air to escape. If you need the broader fitting sequence, see our guide to using a heat gun during car wrapping.
Reduce air entrapment during application
Work on a clean, dry, stable painted surface in conditions suitable for the film. Keep dust off both the panel and exposed adhesive. Preparation products should suit the substrate, and cleaners approved for bare paint should not automatically be used on the finished vinyl.
Plan the laydown so air can leave as the film is applied. Work in manageable areas, use overlapping strokes and avoid sealing a pocket on every side before its air has escaped. The adhesive's air channels help when present, but they do not guarantee a defect-free installation.
Do not stretch every piece as a precaution. Mirrors, bumpers and recesses need a fitting plan matched to their shape and the film's capabilities. Simply pressing a sheet across a hollow can leave it bridging the surface. A planned inlay or different application approach may be needed.
Preparation includes checking the paint itself. Sanding or filling a visible defect is bodywork, not a routine bubble-removal step. Previous repair paint should be ready for film application according to the relevant paint and film guidance. Our surface preparation guide covers the separate cleaning stage.
Match each tool to a specific part of the process
An applicator controls contact pressure, a temperature instrument measures the specified surface condition, and an air-release tool has a limited correction role where the film instructions permit it. These functions are separate. Channels that help air escape belong to the adhesive construction when present, not to every squeegee marketed as an advanced tool.
A digital heat gun or detail roller does not guarantee uniform adhesion or prevent every bubble. Check the working area after the permitted application sequence and cooling stage. If a defect remains, identify whether it contains air, debris or a section with lost contact before repeating the process.
Know when correction needs an installer
Stop if the spot contains debris, sits in a lifted recess, reappears after correction or comes with cracking and loss of adhesion. Large areas of failing film need an assessment of the material and substrate. A release pen cannot restore an adhesive bond that has failed.
A local correction may be possible on suitable film. A damaged or badly distorted area may need a new piece or panel replacement. Ask where a join would sit and whether the available film will match the existing color and sheen. Do not accept an invisible repair promise without seeing the proposed result.
Clarify whether the proposed work covers inspection, local correction or panel replacement. For replacement, agree preparation, film and the VAT-inclusive total.
Inspect the correction after the film has cooled
After the specified finishing sequence and cooling, check both adhesion and appearance. The film should remain in stable contact with the panel without a tear or conspicuous tool mark.
Inspect from several angles for a ridge, cut, enlarged puncture or change in reflection. At recesses, check that the vinyl follows the panel rather than spanning it. A different reflection alone is not a reason to press again.
Keep before-and-after photographs taken from similar angles and in similar light, alongside the film details. Agree when to return if the spot rises again.
Common questions about wrap bubbles
What is the best air bubble removal tool?
A felt-edged squeegee is the main tool for guiding air out during fresh application. A fine air-release pen is useful for remaining pockets when the specific vinyl permits puncturing. Identify the defect first because neither tool fixes debris or failing adhesion.
Will small vinyl bubbles disappear on their own?
Do not assume they will. The film, the pocket and the application method matter. Ask the installer whether monitoring is appropriate for that product and arrange a check if the area grows or stays raised.
Can I use a sewing needle instead of a release pen?
Some film instructions permit a straight pin. A purpose-made pen can offer a more convenient grip and safe storage, but still requires careful control. Do not use a bent, blunt or dirty point, and never treat a blade as the equivalent of a fine pin.
Can I remove a bubble without heat?
During fresh application, some air can be guided out using the permitted squeegee method without additional heating. Whether heat is needed for a remaining pocket depends on the film's instructions and working conditions. Avoid treating a heat gun as the automatic first step.
Why does the same spot rise again?
Recurring lift can indicate a fitting or adhesion issue rather than leftover air. Contamination, film tension, substrate condition and finishing all need consideration. Repeated puncturing is unlikely to resolve the underlying cause.
Should I puncture a pocket under PPF?
Do not use this vinyl method on PPF without product-specific guidance. Ask the installer to distinguish trapped air from application liquid or another defect. Keep the protection film intact while the correct response is established.
Have the raised spot assessed
Show us the area before trying a repair
Send a close photo, a wider panel view and the film details if you have them. Tell us when the issue appeared so our Al Quoz workshop can discuss a suitable next step.