
Installation methods
Stretching vs Laying Car Wrap
Use low-tension laying where the film can follow the panel naturally. Form it with controlled stretching where the shape requires it, and plan an inlay when a difficult recess would concentrate too much strain. A vehicle wrap normally combines these approaches rather than using one method everywhere.
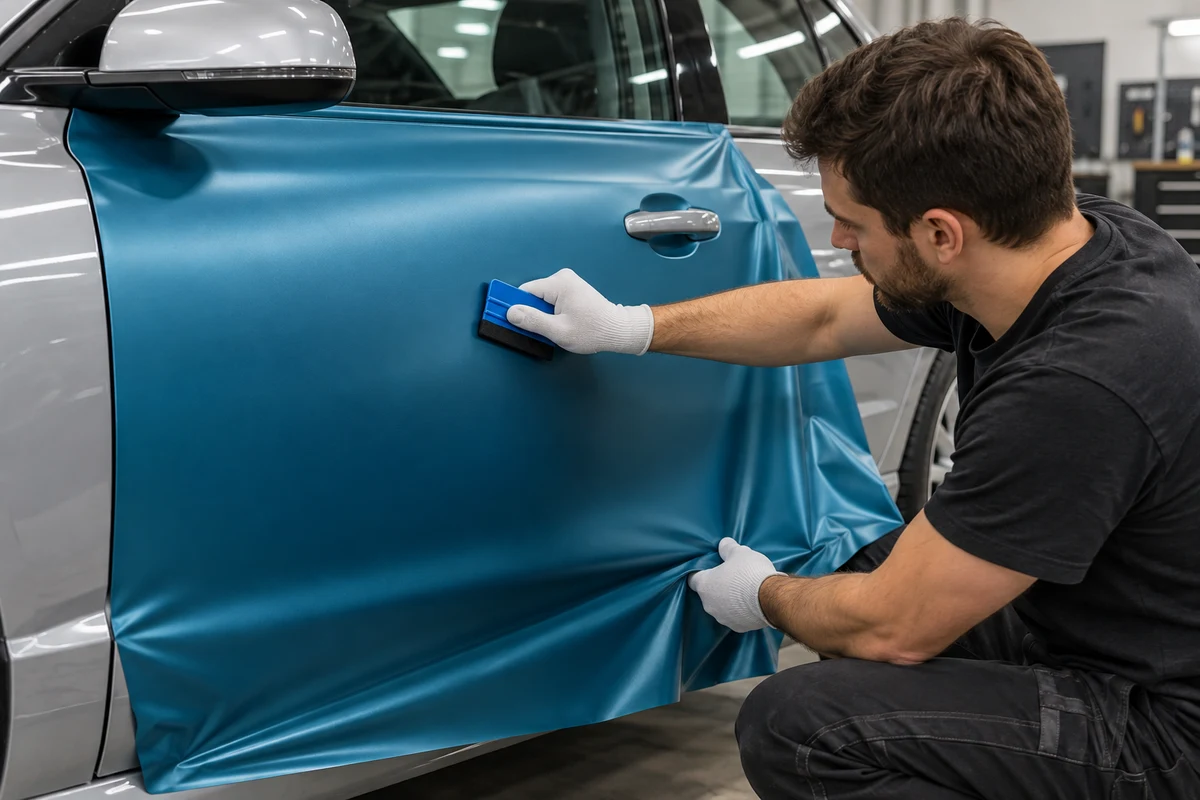
Choose the method from the panel shape
Laying and stretching describe how an installer handles the same sheet. They are not two separate wrap products. Laying means positioning the film and establishing adhesive contact with little unnecessary elongation. Stretching deliberately changes the sheet's dimensions so it can accommodate a shape. Both can appear within one panel installation.
A door may have a broad center, a curved shoulder and a recessed handle opening. Treating the entire door as “flat” misses those differences. The practical plan identifies where material can follow the surface, where forming is needed and where a separate piece would produce a more manageable termination.
| Approach | Purpose | What to avoid |
|---|---|---|
| Low-tension laying | Position and press film onto a broad or gently shaped area | Pulling harder to compensate for poor alignment |
| Controlled forming | Redistribute material around a suitable curve | Concentrating the adjustment at one small corner |
| Contour feeding | Bring enough material into a supported recess | Leaving a stretched bridge above the channel |
| Inlay or planned overlap | Cover a difficult area with a separate piece | Adding an unapproved join after the main piece is already cut |
These descriptions help you discuss the fitting plan. They do not establish that one method is always quicker, cheaper or more durable. Access, material, artwork and the geometry determine the work. A simple-looking panel can still need careful alignment and edge treatment.
Ask the installer to show the difficult areas on your vehicle before agreeing to a one-piece finish. Seeing the proposed join on the actual bumper or mirror is more useful than choosing a method from a general photograph of another car.
Confirm the film and working conditions first
Select a vehicle-wrapping film approved for the intended shape and finish. Cast construction is commonly used for conformable automotive films, but the label “cast” does not grant unlimited stretch. Calendered products have their own application limits. Choose from the named product's instructions rather than assigning all flat panels to one construction.
For example, 3M describes 2080 as a cast film for full color wraps, accents and partial decoration. It is not restricted to curved components. There is no reason to reject a suitable cast color-change film simply because the main part of a hood or roof is broad.
Check the complete material system for printed graphics, including the laminate and print-processing requirements. Decorative color-change vinyl, window tint and paint protection film can use different adhesives and installation procedures. Advice for one should not be transferred to another because they are all supplied on rolls.
Dry application is required for Avery Dennison Supreme Wrapping Film in its application bulletin. Do not spray a slip solution beneath that adhesive. An approved damp application glove or tool covering is a different matter from wetting the adhesive-to-paint interface.
In Dubai, assess the workshop and vehicle surface rather than choosing the method by season. A sun-heated panel can behave differently from one allowed to stabilize indoors. Measure the relevant conditions and use the product's working window. Outdoor heat is not a substitute for a controlled forming or finishing step.
Check clean, dry panel edges and gaps before laying the sheet. If paint is loose, recently repaired or has a coating that affects adhesion, resolve suitability first. The surface preparation guide covers that work separately. Stretching cannot correct an unsuitable bonding surface.
Lay broad areas without forcing the alignment
Establish coverage before removing the whole liner. Check whether the cut piece can reach the agreed returns while keeping any artwork in the right place. Directional finishes also need a consistent orientation. Stretching one short corner to rescue an undersized piece can create a different-looking area beside the rest of the panel.
Keep the loose part of the sheet supported and expose a manageable area of adhesive. The exact hinge or starting point depends on the panel and the product. Your aim is to retain control of alignment while leaving a route for air to escape as contact progresses.
- Check the layout. Confirm orientation, coverage and the planned starting area while the piece can still be adjusted easily.
- Control the loose material. Keep the adhesive away from dust and accidental contact. Arrange help for a sheet you cannot support reliably on your own.
- Establish contact progressively. Use a clean, suitable squeegee face and the film maker's pressure method. Avoid trapping an isolated pocket by pressing its perimeter first.
- Reassess a developing fold. Identify whether material position or the contour is causing it before increasing pressure or adding heat.
- Inspect the next transition. Pause before a crease, recess or return changes how the remaining material needs to move.
Air-release adhesive helps air leave during application, but it does not remove grit, straighten a printed line or make pressure optional. A smooth-looking sheet still needs proper adhesive contact. Use the particular film's instructions to decide when repositioning remains appropriate.
Low tension does not mean slack, uncontrolled handling. Keep the sheet organized and guide it deliberately. Practice on a simple prepared panel before attempting a large roof or compound bumper. The practice should teach you how the selected material positions and bonds, not merely how quickly you can make it look flat.
Spread forming across enough usable material
A convex curve projects outward. A concave area turns inward. A compound shape changes curvature in more than one direction, as on many mirror housings and bumper corners. A sheet that follows one gentle curve may collect excess material when it meets the next change in shape.
Plan the movement before applying firm contact around the difficult area. Leave enough material available to redistribute it. If all the surrounding film is already fixed down, the remaining adjustment can become concentrated in a small patch. That is a reason to reconsider the sequence, not to pull that patch harder.
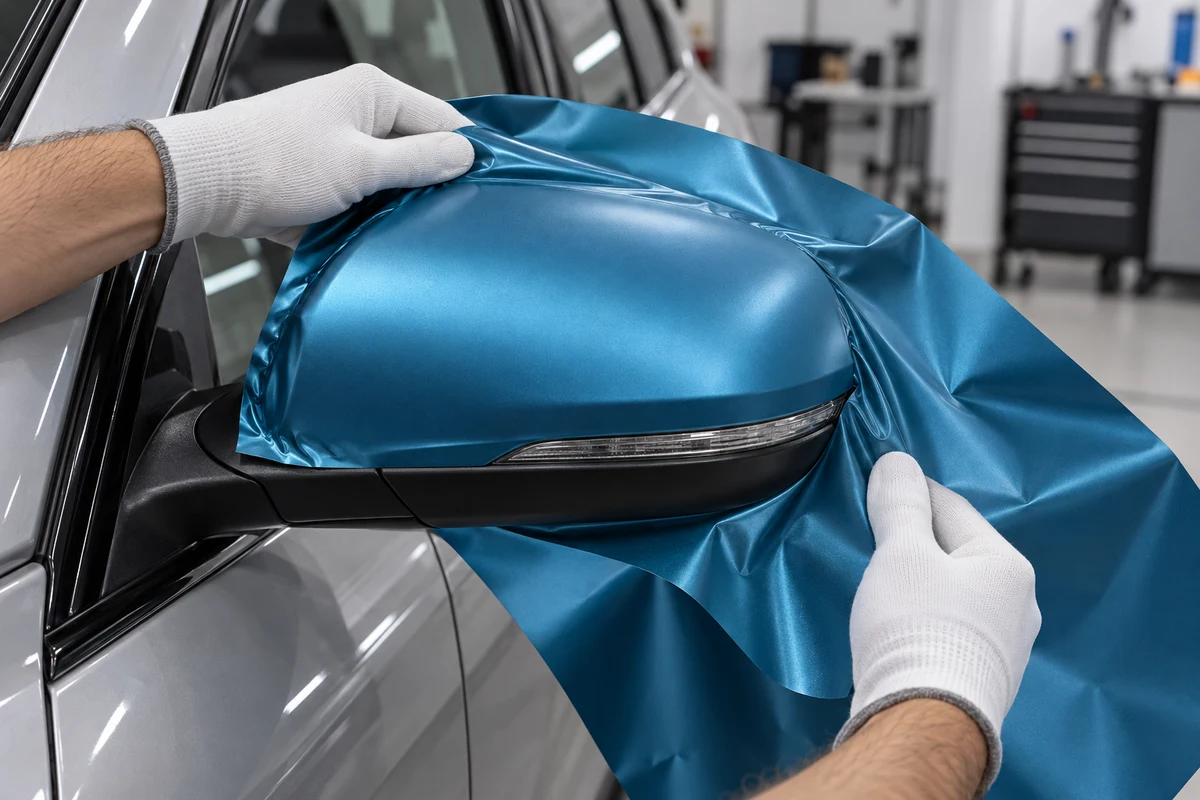
Arlon's channel technique places the stretch in a broader area that can lie flat, then feeds material into the groove. Its explanation addresses lifting and visible color or texture changes where stretch is concentrated in a channel. Apply that principle only within the instructions for your chosen film and shape.
Terms such as glassing, pre-stretching and feeding describe parts of the handling process. Glassing generally refers to organizing the sheet into a smooth initial span. It does not prove contact underneath. Pre-stretching forms material before final placement. Feeding brings available material toward a contour instead of making the deepest point supply all the elongation.
Do not choose a universal stretch percentage from a generic guide. A tensile-test result, a marketing claim and a permitted installation limit answer different questions. Finish, laminate and the shape of the working area can change what is acceptable. Ask for the applicable installation limit and method together.
Use permitted warming only where it helps the planned forming stage. Put the heat tool down safely before changing your grip, and keep hands out of the hot airflow. If color, texture or gloss changes permanently, compare the piece with unused film and reassess its suitability before continuing.
Understand when an inlay changes the method
A recessed channel has a longer surface path than a sheet spanning its opening. The method must bring enough material into contact without concentrating the adjustment at the deepest point. A smooth bridge above a channel is not completed coverage. The selected film and actual shape determine whether feeding or a separate piece is appropriate.
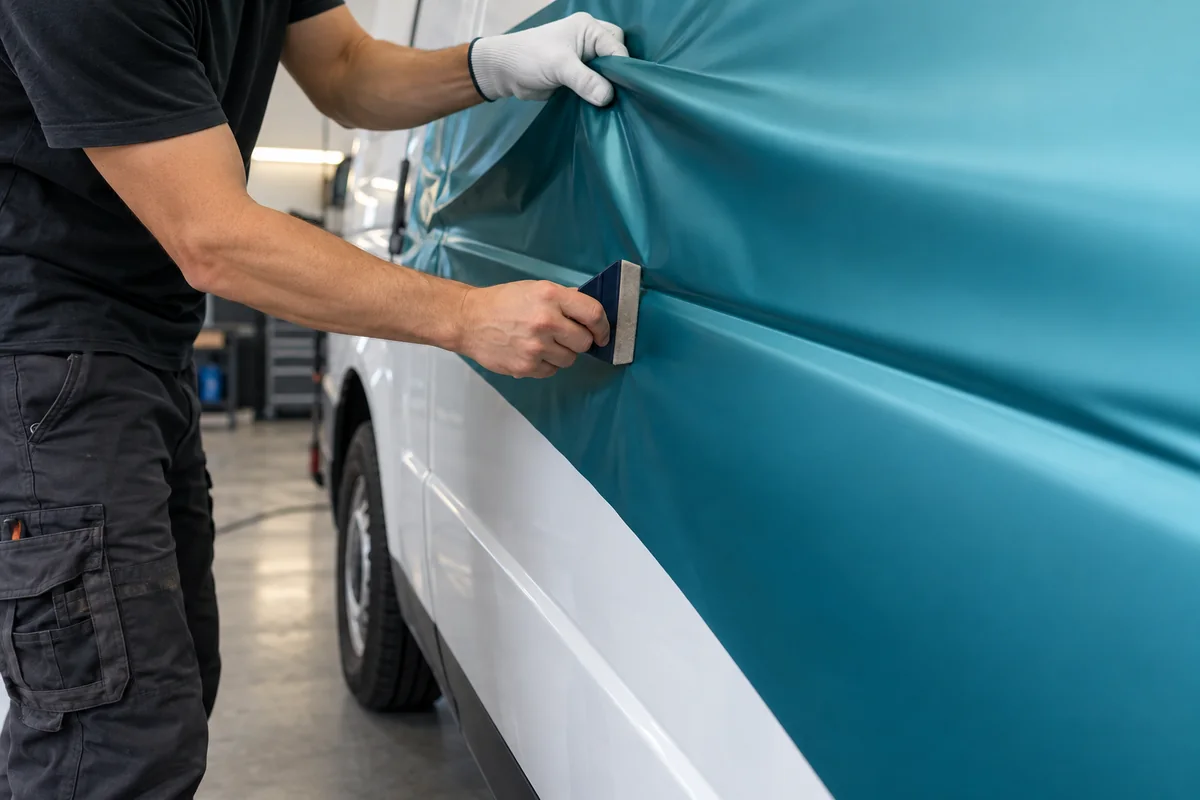
An inlay is a separate piece used to cover a difficult area, allowing the main panel piece to end with a planned overlap. It introduces a visible join but can avoid an unsuitable one-piece layout. Discuss the visible result before fitting; a preference for one piece does not override the film’s application requirements.
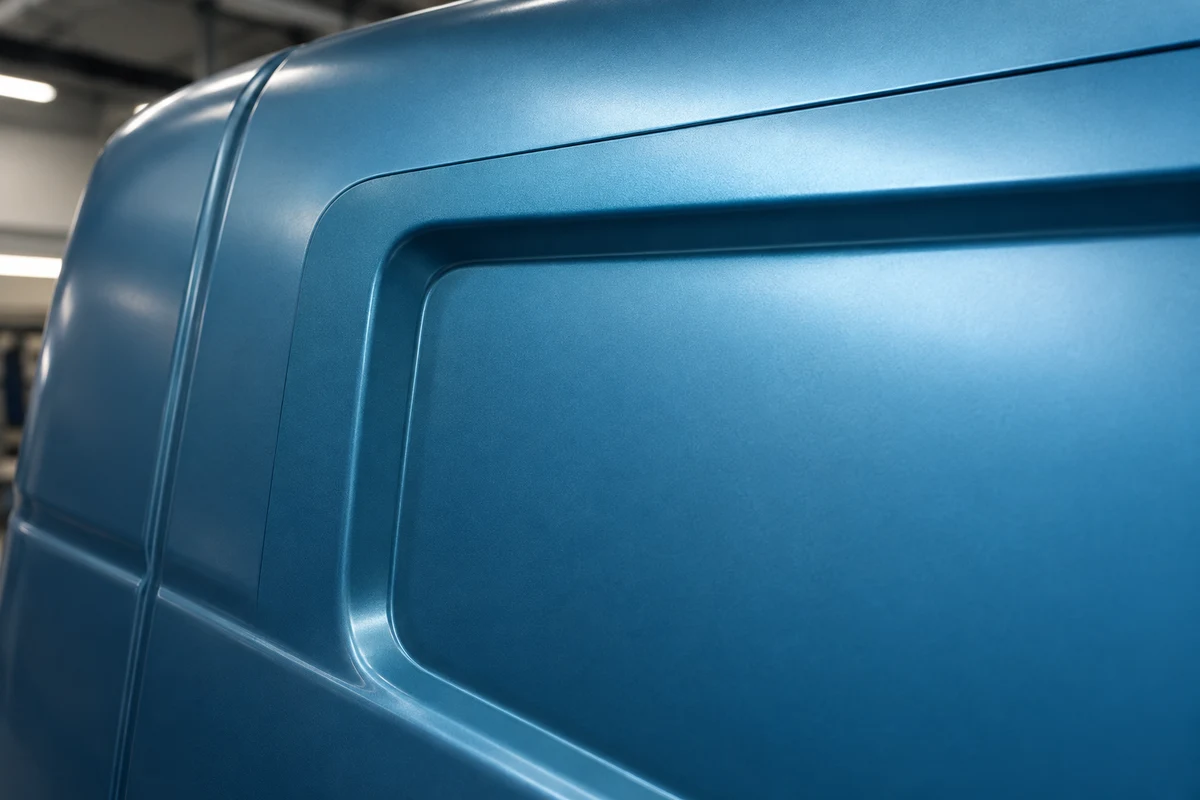
Use 3M’s vehicle color-change instructions for the named film system. Different channel shapes and materials can require different approaches. Keep panel dimensions, material orientation, access and customer approval in the individual job record.
This article compares the handling methods. For seam routes and protection of the substrate during trimming, follow the car-wrap cut-line checklist and the exact cutting-system instructions. Do not use the painted body line as an unprotected blade guide.
Separate shaping heat from the finishing treatment
Warming helps form compatible film during application. Post-heating is a later treatment for the installed areas specified by the manufacturer. Arlon describes post-heating as a combination of temperature, time and reapplied pressure. A quick hot pass cannot establish that all three requirements were met.
Temperatures must come from the exact document, product and application. These examples show why a single number for every wrap is misleading. They are measured film temperatures, not a setting to copy onto the heat gun.
| Film and context | Forming example | Finishing example |
|---|---|---|
| 3M 2080, specified recess application | 40–50°C | 80–95°C for the specified recessed areas |
| Avery Supreme Wrapping Film, shaped surfaces | 40–55°C | 90–95°C on convex, concave and compound shapes |
Other areas, including overlaps, can have separate requirements. Check the current instructions before treating them. Also distinguish the adhesive release liner from a removable protective top layer, which some films require removing before particular finishing stages.
Use appropriate surface measurement, complete the specified sequence and inspect the cooled result. The heat-gun technique guide explains equipment control and measurement in more detail. Heating cannot replace missing contact, remove contamination or make a damaged finish acceptable.
Recognize when the fitting plan needs to change
Look at the position, appearance and contact of the film together. A defect can have several causes, so its location does not prove that one installation method was responsible. Arlon's troubleshooting guidance includes preparation, overstretching, insufficient pressure, print processing and incorrect post-heating among the possible contributors.
Wrinkles collect at a small corner
Check how much material remains free to move and whether the initial alignment has pushed excess film into that corner. Reposition within the product's instructions while it is still workable. If the layout repeatedly demands forceful pulling at the same point, consider another piece layout or an agreed inlay.
A recess looks covered but has a raised span
Identify whether there is an unsupported bridge, trapped air or another contact problem. Do not assume a surface reflection proves adhesion. An installed wrap that repeatedly lifts needs assessment of the material, preparation and fitting sequence rather than a series of hotter repair attempts.
The finish changes around a formed area
Compare the suspect area with an unused sample in consistent lighting. Distorted printed lines, a stretched texture or a persistent color change deserve attention before the piece is accepted. Some marks may be reversible during permitted handling, but permanent damage can require a replacement piece.
An edge needs constant holding to stay down
Check preparation, available return material and residual tension. Adhesion promoter should be used only where the selected system permits it. It is not a general answer to an unsuitable layout, and its effect on later removal must be considered.
Agree the layout and inspect the cooled result
If you are booking a wrap, describe the finish and coverage you want, then ask how the difficult areas will be handled. You do not need to prescribe every squeegee movement. You do need agreement about the visible result, especially seams, exposed original paint and returns.
Ask for the manufacturer, film series and finish in the written specification. For printed work, include the print and laminate system. Confirm whether the quote includes trim access, existing-film removal and any preparation identified during assessment. Those details explain the work more accurately than a generic surcharge for “stretching”.
There is no universal price difference between laying and stretching. Both may be used on the same piece. Complex access, revised artwork or additional inlays can change the scope, but the fitter should explain the change. Compare quotes for the same material and coverage, with VAT treatment clear in the written total.
At collection, inspect the cooled vehicle in light that reveals the surface. Check recesses, returns, joins and finish consistency between neighboring panels. Confirm that handles, lights and relevant vehicle equipment remain usable. Raise an unexpected join or distorted area while the fitting plan and material are still readily identifiable.
Keep the film reference and the applicable care instructions. Obtain the selected product's settling conditions and first-wash advice rather than relying on a universal “few hours” rule. If a section lifts later, photograph its location and contact the installer before trying to stretch or heat it back into place.
Planning the fitting layout
Discuss your vehicle and preferred finish
Share the vehicle model and photographs of any difficult contours. Our Al Quoz team can discuss material, coverage and proposed joins before you book.
Common questions
Is laying vinyl better than stretching it?
Use laying where the material can follow the surface with little tension, and controlled forming where the shape requires it. A wrap usually combines these approaches. The useful test is whether the chosen film has proper contact and an acceptable finish on that particular panel.
Can cast wrap film be used on flat panels?
Yes, when the named film is suitable for the application. Cast color-change films are used for broad panels as well as contours. A flat area does not automatically require calendered vinyl, and construction alone does not define every application limit.
Does every bumper need a one-piece wrap?
No. A planned inlay or overlap may suit a difficult contour better than forcing one piece into it. Agree the visible join before fitting. A one-piece preference should not override the film’s application requirements or a workable panel layout.
Can I spray water under air-release wrapping film?
Follow the exact product instructions. The 3M 2080 recess bulletin and Avery Supreme Wrapping Film bulletin specify dry application. Do not copy a wet method from window tint or PPF onto those films. Tool-cover lubrication and wetting the adhesive interface are different actions.
Is cold pre-stretching suitable for every vinyl?
No universal cold pre-stretch procedure applies to every film or finish. Check whether the manufacturer permits it and for which shape. A technique shown with one product does not establish suitability for another, especially a different texture or printed laminate system.
Will Dubai sunshine complete the post-heating stage?
No. Sunshine does not establish the specified temperature, treatment time or pressure across the required areas. Carry out the manufacturer’s controlled finishing process during installation, then follow the material’s handover and care requirements.