
Are you tired of dealing with air bubbles during your vinyl car wrap installation? It’s one of the most frustrating challenges for any wrapper. But what if you could avoid that issue altogether? In this guide, we’ll dive into the best tools to prevent air bubbles, ensuring a smooth, flawless car wrap every time. Whether you’re a DIY enthusiast or a professional, this post will help you get the perfect finish you’re aiming for. Let’s get rid of those pesky bubbles and take your wrapping skills to the next level!
Why You Need to Understand Air Bubbles in Vinyl Wraps
If you’re diving into the world of vinyl wrapping, it’s essential to understand why air bubbles form and how they can ruin your finish. Knowing what causes these bubbles gives you the power to prevent them from showing up in the first place. Here’s what you need to know:
- Improper Vinyl Stretching: One of the leading causes of air bubbles is stretching the vinyl incorrectly. If you pull the vinyl too tight or leave it too loose, air pockets can form beneath the surface.
- Surface Contamination: Dust, oil, or any residue on the car’s surface can create a barrier that causes air bubbles to form. It’s crucial to clean the surface thoroughly before starting the wrap.
- Lack of Pressure During Application: When applying vinyl, not using enough pressure with the air bubble removal tool or squeegee can leave air pockets trapped underneath.
- Temperature Issues: Cold surfaces or wrapping during a humid day can cause vinyl to behave differently, leading to air pockets. It’s best to work in a controlled environment for smooth application.
- Vinyl Quality Matters: Not all vinyl is created equal. Lower-quality vinyl may bubble more easily, whereas premium vinyl gives a smoother, more durable finish.
Understanding the reasons behind air bubbles is crucial for successful air bubble removal. With this knowledge, you can avoid the most common mistakes and ensure a flawless finish.
Top Tools to Ensure a Bubble-Free Vinyl Wrap | Your Ultimate Guide
If you’ve ever tried to install a vinyl wrap, you know that air bubbles are a common headache. But the good news is, with the right air bubble removal tool and a few key accessories, you can keep your wraps smooth and flawless. Here’s what you’ll need:
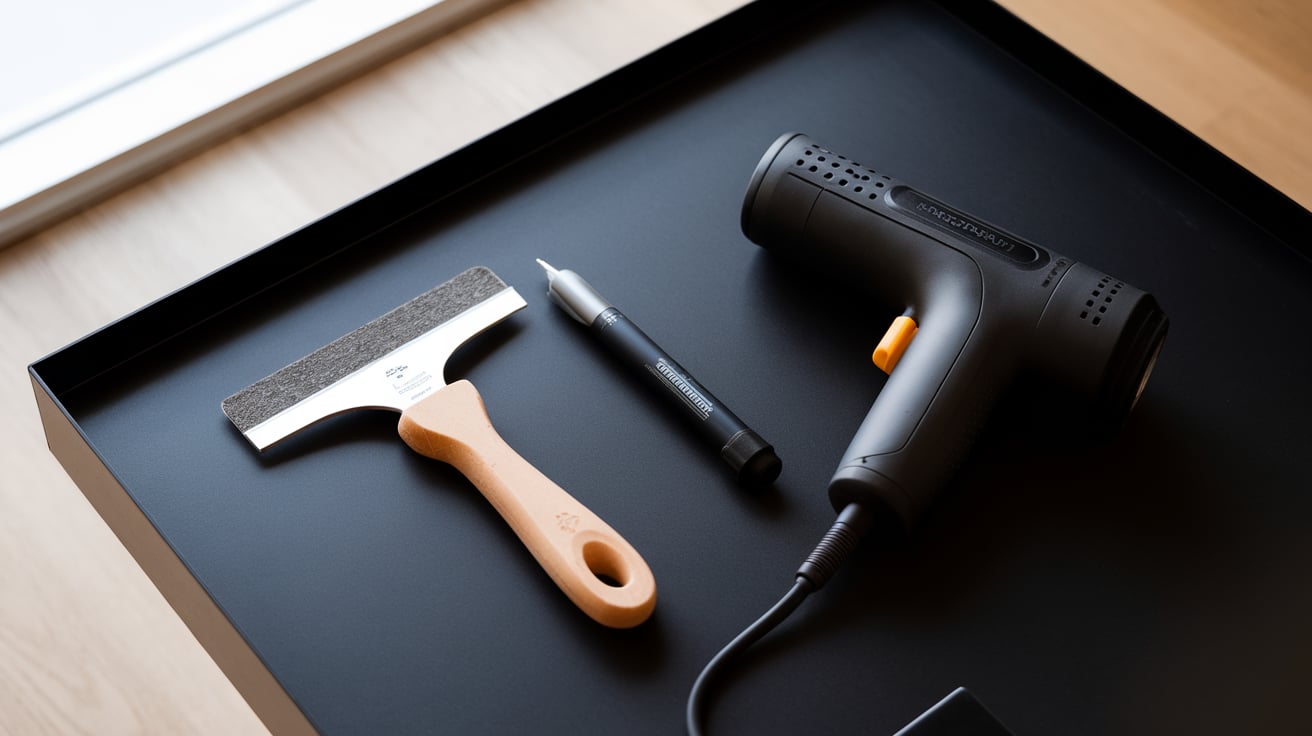
- Squeegee: The go-to tool for applying even pressure across the vinyl. It’s simple, effective, and will help you push out air pockets as you go. Just make sure you’re using the right amount of pressure , too much, and you risk damaging the wrap; too little, and you won’t push out the air properly.
- Heat Gun: Heat is your friend. When you use a heat gun, it softens the vinyl, making it more flexible and easier to stretch. Plus, it helps remove those pesky air bubbles that seem to pop up on curved surfaces. Just don’t overdo it, or you could end up with a wrinkled wrap.
- Bubble Buster Tool: This tool is a lifesaver for stubborn air bubbles. It’s a small, simple tool designed to pierce air pockets and allow them to escape without causing damage. It’s one of those must-have tools for any professional wrapper.
- Vinyl Roller: After applying your vinyl, use a roller to give those edges and tight spots an extra press. It smooths out any remaining small bubbles and makes sure the vinyl stays perfectly in place.
- Felt-Tipped Squeegee: When you’re dealing with more delicate vinyl or heat-sensitive areas, a felt-tipped squeegee is your best friend. It helps remove air bubbles gently without risking scratches or damage to the wrap.
Having the right air bubble removal tool is crucial for achieving that smooth, professional look. These tools, when used properly, will help you get the best results and keep your wraps bubble-free from start to finish. For expert results, trust our car wrapping specialists in Dubai who use pro-grade tools daily.”
How to Effectively Use Your Air Bubble Removal Tools for a Flawless Vinyl Wrap
Using the right air bubble removal tool is crucial, but knowing when and how to use it makes all the difference. Here’s a step-by-step guide on how to combine these tools effectively for the best results:
- Step 1: Surface Preparation
- Start by thoroughly cleaning the surface. Any dust or grease can cause air bubbles later, so wipe everything down. This ensures your vinyl wrap adheres smoothly. For stubborn spots, you might want to lightly sand the surface.
- Step 2: Apply the Vinyl
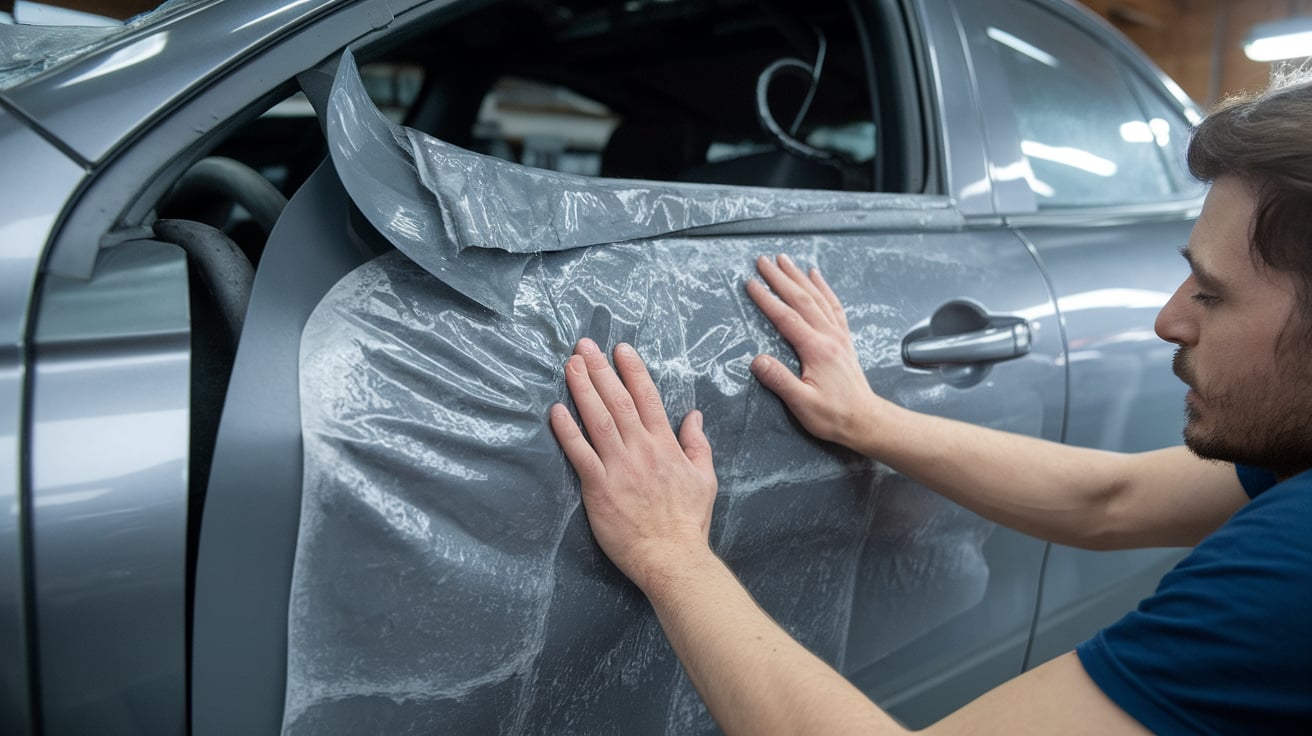
- Lay the vinyl on the surface, starting from one side and working your way across. As you go, use the squeegee to push the vinyl down. Be careful not to press too hard, as this can create creases or stretch the vinyl unevenly.
- Keep the vinyl slightly lifted in areas where you expect air pockets so that you can work the bubbles out as you go.
- Step 3: Use the Heat Gun
- Once the vinyl is positioned, grab your heat gun. Gently heat the vinyl in small sections, especially around curves and edges. The heat softens the material, making it more pliable, and helps to eliminate any small air bubbles trapped under the surface.
- Don’t overheat; just enough to make the vinyl easier to manipulate and smooth out.
- Step 4: Apply Pressure with the Squeegee
- After heating, take your squeegee and press it firmly but evenly across the surface. This helps push out any trapped air and ensures a smooth finish. Work in small sections, pushing the air toward the edges.
- Step 5: Deal with Stubborn Bubbles
- For any air pockets that remain, use your air bubble removal tool (like a bubble buster tool) to carefully pop them. Gently press the tool into the vinyl to release the air without damaging the wrap.
- Step 6: Roll the Edges
- For a clean finish, use a vinyl roller around the edges and seams. This ensures that the vinyl is securely attached and helps remove any small air bubbles left along the edges.
By following these steps and using each tool at the right time, you’ll ensure a smooth, flawless vinyl wrap with no unsightly air bubbles. Proper technique and the right air bubble removal tool make all the difference in achieving a professional finish.
Mastering Air Bubble Prevention in Tough Spots | Tips for a Flawless Wrap
When wrapping your car, some areas can be trickier than others, and air bubbles tend to sneak in where you least expect them. These challenging spots require a bit more attention and the right technique to keep things smooth. Here’s how you can handle them:
- Curves & Contours
Wrapping curves is one of the toughest parts. The vinyl wants to bunch up, and that’s where bubbles often form. To prevent this, use a heat gun to soften the vinyl and make it more flexible. Once softened, gently stretch the vinyl over the curve, using your squeegee to smooth it out. Work in small sections to avoid trapping air under the vinyl. - Tight Edges & Corners
When you reach edges and corners, air pockets are common because the vinyl doesn’t always lay flat. In these areas, a vinyl roller is your best friend. Use it to press the vinyl into the edge, ensuring it sticks tightly. For stubborn spots, the bubble buster tool can help release air trapped under the vinyl without damaging it. - Seams & Joints
Seams where panels meet are another tricky spot. If you’re not careful, air bubbles can form right along these lines. To avoid this, apply the vinyl with the squeegee in a way that forces the air out towards the edges of the seams. A little heat from the heat gun also helps to make the vinyl more flexible, allowing it to conform better to these tight spots. - Windows & Vents
When wrapping around windows, vents, or other intricate areas, air bubbles are more likely because of the small gaps and angles. Take your time to apply the vinyl smoothly and slowly. Use the squeegee to work the vinyl into these areas, and if needed, carefully use the air bubble removal tool to address any stubborn bubbles.
Handling these tricky areas with the right tools and techniques will keep your vinyl wrap bubble-free. The same precision is vital for custom car graphics in Dubai, where even a small bubble can ruin the design.
The Secret to a Flawless Vinyl Wrap | Proper Surface Preparation
Let’s be real: You can have the best air bubble removal tool and the perfect vinyl, but if your surface isn’t prepped right, your wrap’s not going to stick the way you want it to. Getting the surface clean and smooth is the first step to avoiding air bubbles and ensuring a smooth, flawless finish.
- Clean Everything Thoroughly
The surface needs to be spotless. Any dirt, grease, or residue left on the car will prevent the vinyl from sticking properly. Use a high-quality cleaner to wipe down every part of the surface where the vinyl will go. Don’t cut corners here,it’s the foundation of a smooth application. - Dry It Completely
After cleaning, make sure the surface is dry. Even a little moisture can lead to trapped air and bubbles. Use a microfiber cloth to dry the surface fully. It may seem like a small thing, but trust me, it’s important. - Look for Imperfections
Check the surface carefully for any imperfections, like scratches or small dents. Even tiny flaws can cause the vinyl to lift or form bubbles. If you find anything, address it before applying the vinyl. Sanding or filling in small imperfections can make a big difference. - Temperature Matters
The temperature of both the vinyl and the surface is crucial. Too cold or too hot, and the vinyl won’t stick the way it should. Aim for a moderate temperature range,around 60°F (15°C) to 80°F (27°C). Avoid direct sunlight or cold areas that could make the vinyl too stiff or too soft to work with.
Proper surface preparation is the key to a smooth vinyl wrap. By taking the time to clean, dry, and inspect the surface, you’re setting yourself up for success and ensuring your air bubble removal tool won’t be working overtime. It’s all about setting a solid foundation.
Pro Wrapping Secrets: Advanced Tips to Avoid Air Bubbles
If you want to take your vinyl wrapping skills to a pro level, mastering air bubble removal is a must. The best car air bubble removal tool and a few advanced techniques can make all the difference in achieving that flawless, professional finish. Here’s how you can level up your wrapping game:
- Work in the Right Environment
The ideal environment can make or break your wrap. Temperature and humidity play a huge role in how well your vinyl adheres. Try to wrap your car in a controlled space with a moderate temperature (around 60°F to 80°F). Avoid direct sunlight or cold, as they can make the vinyl too stiff or too soft, leading to wrinkles or trapped air. - Use Overlapping Squeegee Strokes
When using the car air bubble removal tool like a squeegee, don’t rush through it. Overlap your strokes slightly as you push the air out. This ensures that you’re applying even pressure, reducing the chances of leaving small bubbles behind. Always work from the center to the edges to push any air toward the seams. - Pre-Stretch the Vinyl
Pre-stretching the vinyl before applying it to the surface gives you more control, especially on larger areas or around curves. Use a heat gun to warm the vinyl up slightly, which will make it more flexible and easier to stretch. This reduces the chances of air bubbles forming in areas with tight curves or complex shapes. - Avoid Too Much Pressure
When using your air bubble removal tool, avoid applying too much pressure. Overdoing it can distort the vinyl, especially on delicate spots like edges and corners. Use moderate, consistent pressure to push the air out while maintaining the vinyl’s integrity. - Work in Sections
Don’t try to wrap the entire car at once. Instead, break it down into manageable sections. This gives you time to focus on each part of the car and prevents you from rushing, which often leads to air pockets. Always ensure each section is properly adhered before moving on to the next.
By implementing these advanced tips, you’ll be able to avoid air bubbles even in the trickiest areas. The right environment, combined with tools like the car air bubble removal tool, will give you a smooth, professional finish every time.
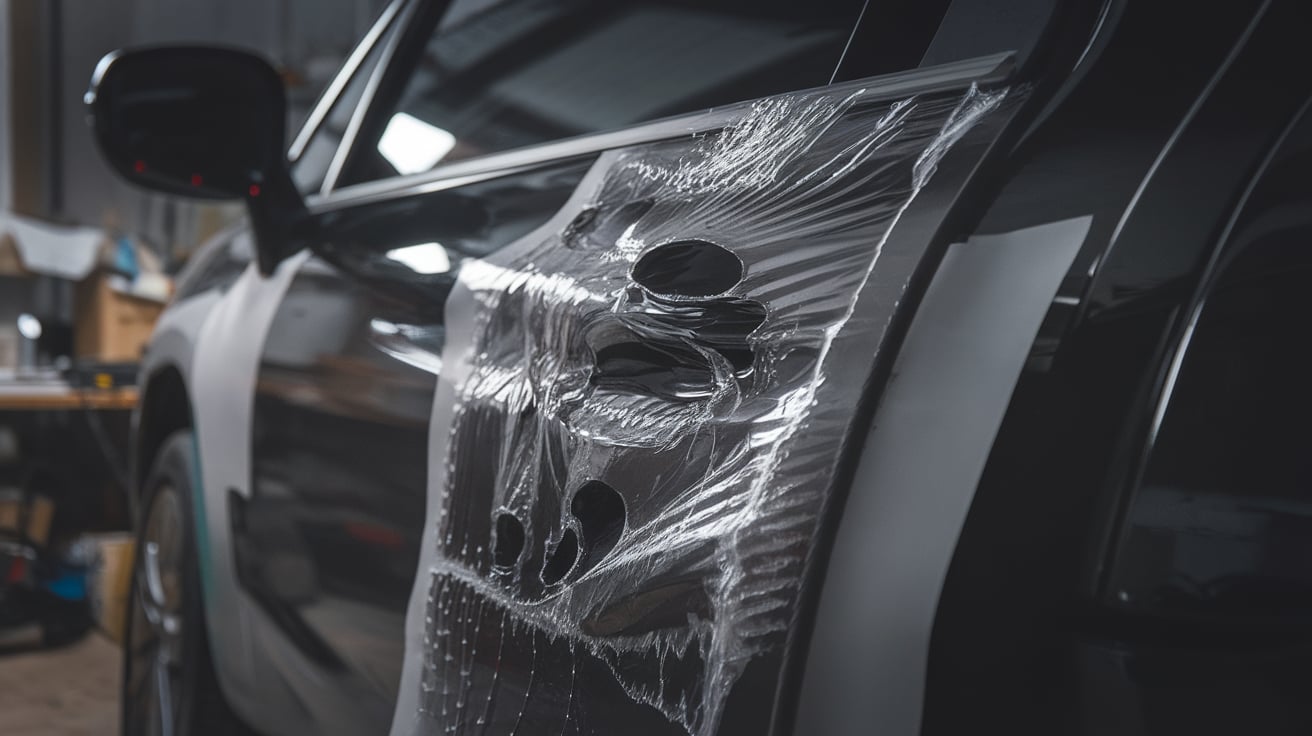
Why Are Air Bubbles Still Showing Up? Here’s What You’re Missing
Sometimes bubbles appear no matter how careful you are. Cheap vinyl or poor prep can make things worse, and in some cases, the only solution is reinstallation. If your wrap is already failing, check out our guide on safe car wrap removal techniques.
- Using Low-Quality Vinyl
Cheap vinyl can easily lead to bubbles. It doesn’t stretch or adhere as well as higher-quality options, meaning air can get trapped. Always go for premium vinyl to reduce this risk. - Not Cleaning Thoroughly
Even a little dust, dirt, or oil on the surface can prevent proper adhesion, causing air pockets to form. A good, thorough cleaning and drying of the surface is essential. - Excessive Humidity
Too much moisture in the air can affect vinyl’s ability to stick properly. Work in a dry, controlled environment to avoid issues related to high humidity. - Improper Handling of Vinyl
Touching the vinyl too much or mishandling it can introduce air pockets. Handle it by the edges, and always be careful when applying to ensure the vinyl isn’t stretched or wrinkled. - Rushing the Process
Moving too fast can lead to bubbles, especially in tight spots or curves. Take your time, work in sections, and ensure everything is smooth before moving on.
By identifying these hidden causes and using the right air bubble removal tool, you can eliminate those bubbles for good. Each step you take will bring you closer to a perfect, bubble-free wrap.
Getting a smooth, bubble-free vinyl wrap is easier than it seems with the right approach. By using the right air bubble removal tool, prepping your surface properly, and following the right techniques, you’ll avoid those frustrating air pockets. Each step you take ensures a better, more professional-looking finish.
If you’re tired of battling air bubbles and want that perfect wrap, we’re here to help. Our team has the skills and tools to ensure your vinyl wrap stays smooth and bubble-free. Ready for that flawless finish? Get in touch with us today and let’s make your car look as good as it can be!