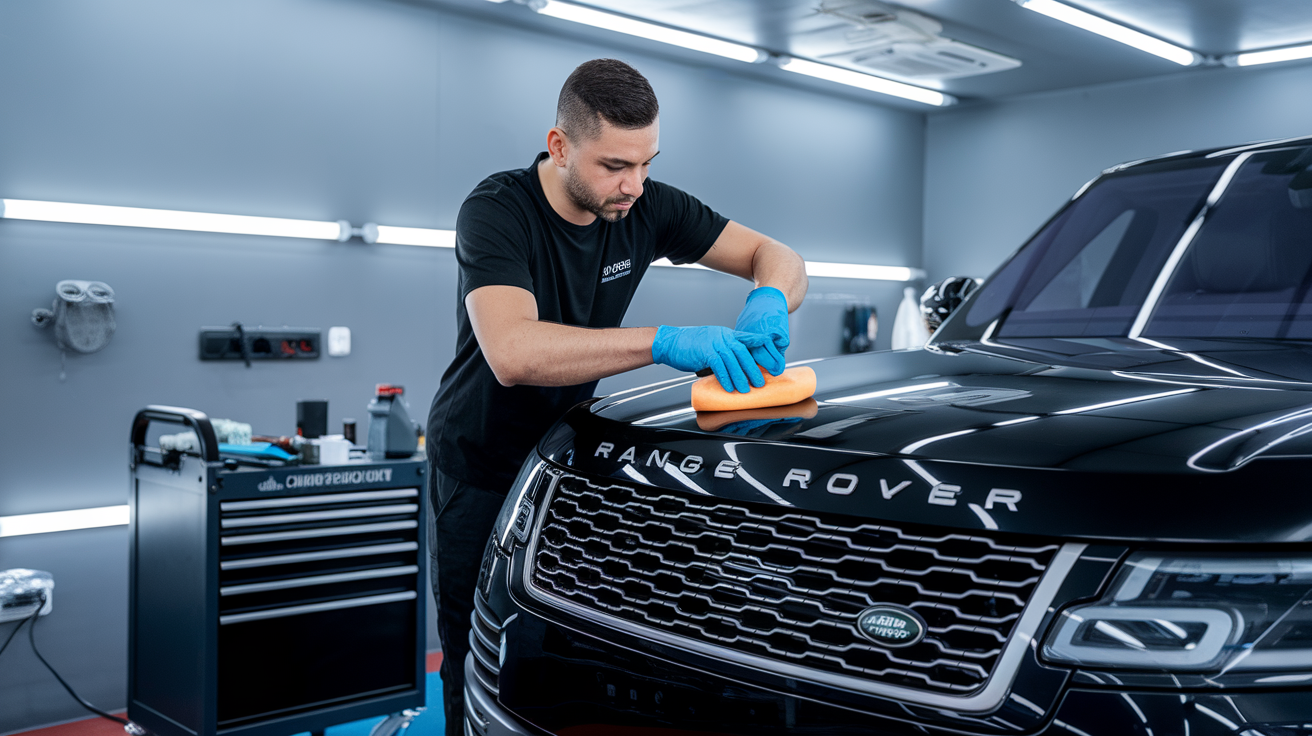
Prep makes or breaks the wrap, simple as that. Dubai’s heat and airborne dust are brutal on vinyl. Miss a spot of wax or grease, and you’ll be chasing bubbles, edge lift, and angry callbacks. Surface preparation tools like clay bars, microfiber cloths, and IPA sprayers aren’t just nice to have; they’re your insurance policy. This article cuts through the noise: we’ll break down what ruins adhesion, which tools work, and how pros build wrap-ready surfaces the right way. Because of the vinyl’s loyalty? It starts long before the install.
The Hidden Enemies of Wrap Adhesion| Common Surface Contaminants
Before you unroll a single sheet of vinyl, the real troublemakers are already clinging to the surface. And most of the time? You won’t even see them.
Grease from engine bay handling, faint wax layers from old detailing sessions, micro-dust kicked up from roadside parking in Dubai’s arid zones, they’re all silent saboteurs. One missed wipe, and your wrap starts misbehaving: air bubbles pop up overnight, edges don’t hold, and the film starts tunneling like it’s alive. Here’s what you’re fighting:
- Grease & oil | From polishing compounds, fingerprints, and engine touch-ups. They repel adhesives flat-out.
- Wax residues | Glossy but deadly. These slick layers prevent vinyl from bonding.
- Road grime | Baked onto the panels by intense desert sun—only clay bars stand a chance.
- Silicone compounds | Usually hidden in tire shines, polishes, and interior sprays. They cling to trims and glass like glue.
- Dust and micro-particles | Especially nasty in Dubai’s industrial zones, they settle into seams and cause tunneling under the vinyl.
Improper cleaning leads to headaches you won’t catch until it’s too late:
- Bubbling | Looks cosmetic, but it means something underneath is breaking the bond.
- Edge lifting | The film separates near corners, especially where rubber meets paint.
- Tunneling | Dust or fibers push under the vinyl, creating uneven ridges.
- Premature wrap failure | Sometimes weeks, sometimes hours. Either way, your job’s compromised.
“Contaminants don’t care how good your technique is. If they’re there, the wrap’s not staying.”
If your cleaning process is just a quick wipe-down, you’re playing with fire. Up next, we’ll dive into the surface preparation tools built to erase every one of these threats—and set your wrap up to win. Ready to roll into the gear that matters?
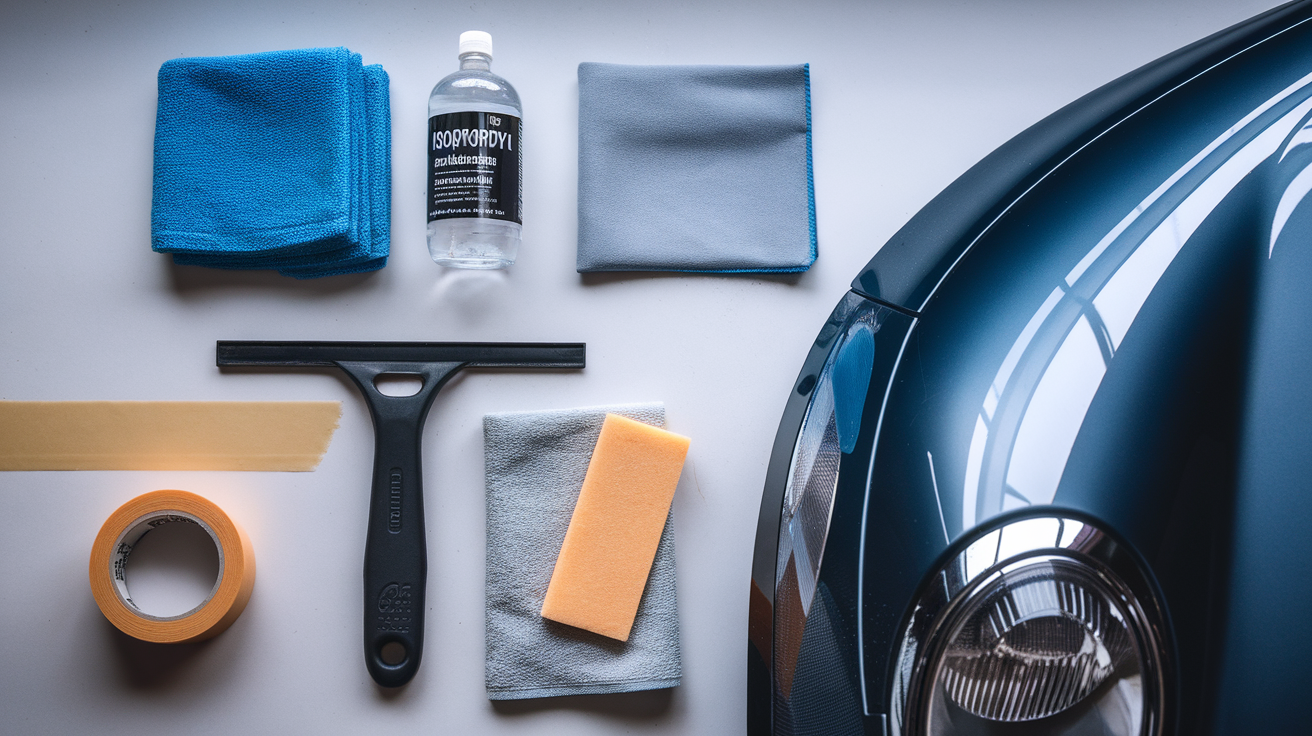
Essential Surface Preparation Tools | Your Wrap Kit Must-Haves
If wrapping is art, then surface preparation tools are your brushes, each one solving invisible problems that only show up later if ignored. Whether you’re working out of a Dubai garage or a mobile bay near Al Quoz, success starts before the vinyl leaves its box. Dust, grease, silicone… if you’re not obsessive about prep, you’re gambling with failure. Here’s what every serious wrap pro should have and why these surface preparation tools are non-negotiable.
Isopropyl Alcohol Sprayer
There’s nothing fancy about IPA until you skip it. As a foundational surface preparation tool, it melts through oil films and evaporates clean. In Dubai’s heat, any leftover polish or detailing compound will mess with adhesion fast.
Skip the IPA and your vinyl’s sticking to residue, not paint.
- Usage Tip: Use 70–90% concentration. Anything lower and you’re just pushing dirt around.
- Impact: Removes unseen contaminants so adhesive bonds do not float.
Clay Bar
It might look clean, but let a clay bar prove you wrong. This surface preparation tool grabs embedded grime, brake dust, and microscopic debris that microfiber won’t catch, especially after dusty drives through Jebel Ali or a week of coastal exposure.
- Use: Lubricate and glide with light pressure.
- Wrap Impact: Prepares a slick, contamination-free base for precision vinyl adhesion.
Microfiber Cloths
You can’t trust cheap cloth. Real microfiber cloths with thick pile, paint-grade are key surface preparation tools that soak without streaking and lift dust quietly. In high-static conditions like Dubai’s dry bays, lint can mean failure.
Microfiber is where cleanliness meets precision.
- Care Tip: No softeners, wash separately. Contaminated cloths are prep killers.
- Impact: Prevents re-contamination and avoids static build-up before installation.
Tack Rags
Underrated but critical, tack rags are the surface preparation tools you’ll reach for when nothing else works. They grab silicone mist, leftover compounds, and fine particles hiding near trims and seams.
- Technique: Light passes, one panel at a time. Never scrub.
- Wrap Benefit: Clears invisible layers that sabotage edge grip and cause tunneling.
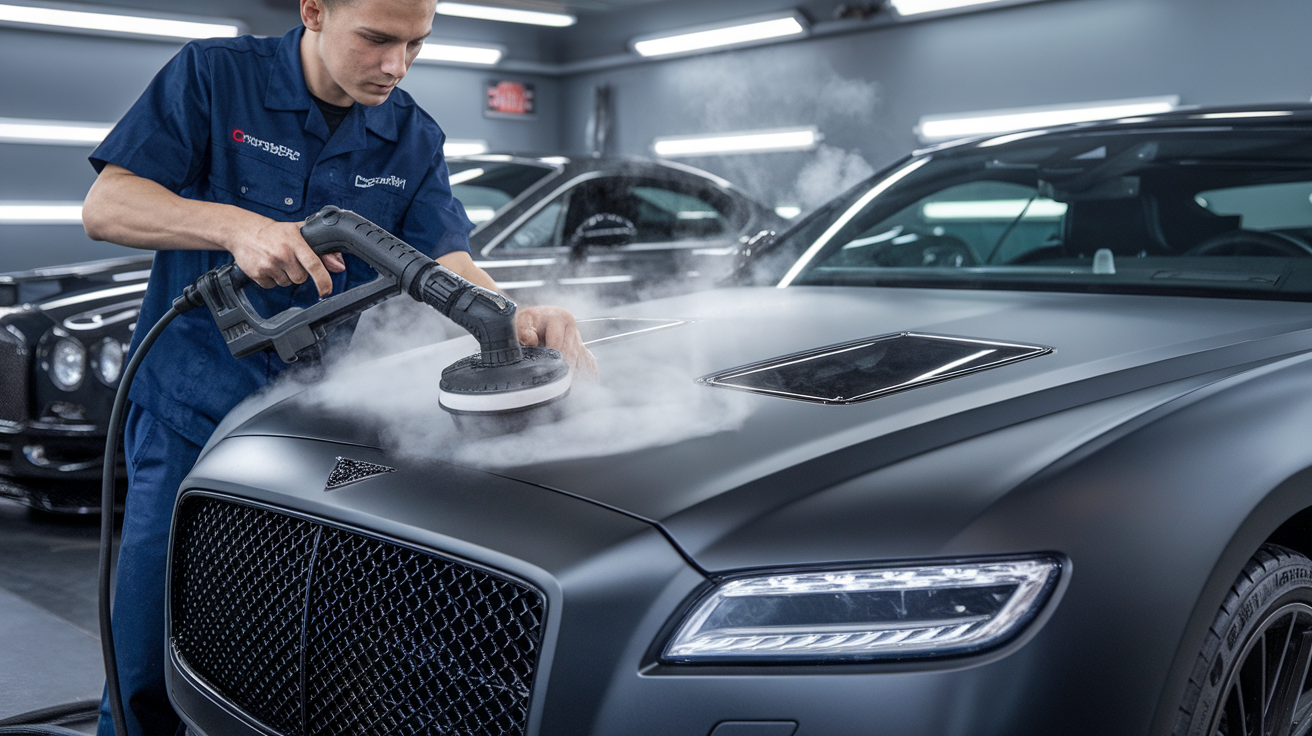
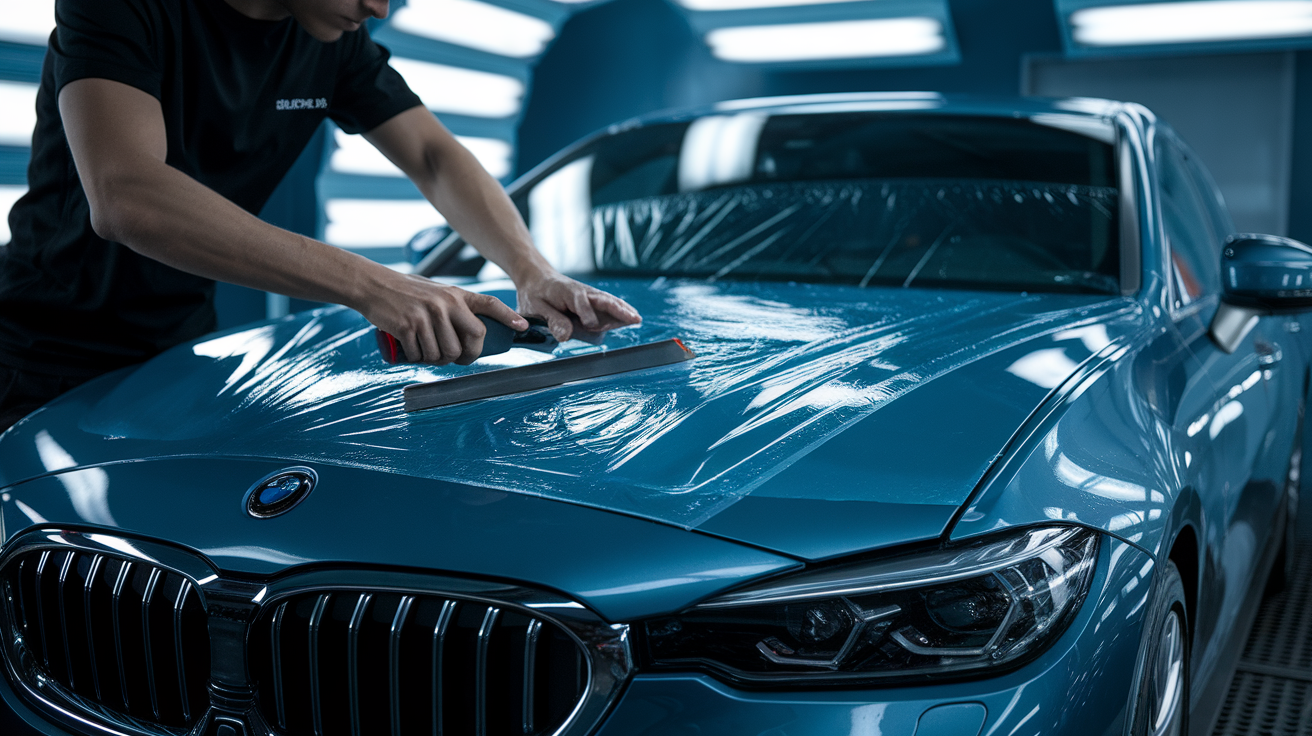
Squeegees (Prep Use)
These are not your install squeegees. Prep-specific squeegees wick off excess moisture post-cleaning, especially after alcohol sprays. In humid Dubai workshops, moisture trapped beneath vinyl leads to blistering and lift.
Moisture is silent until it ruins everything.
- Recommended Tool: Soft-edge, silicone-tip squeegees only.
- Impact: Keeps paint dry and wrap-ready. No pockets. No lifting.
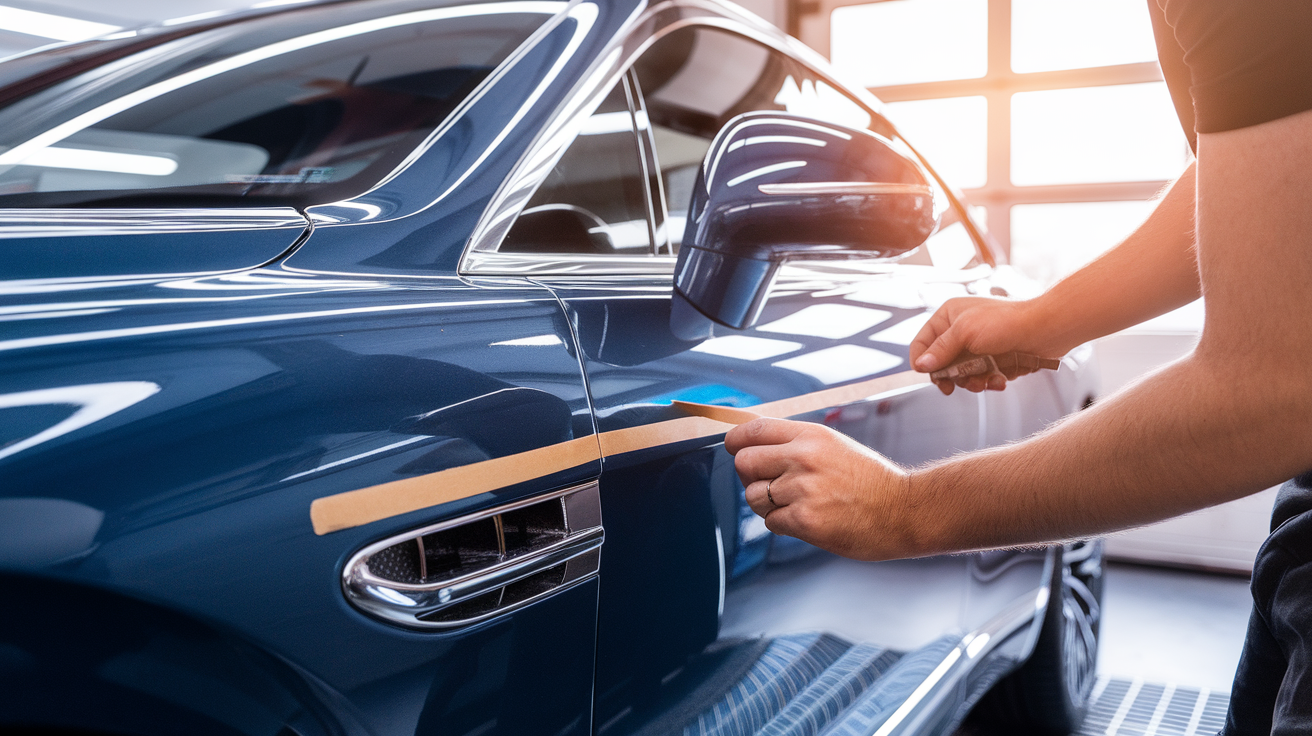
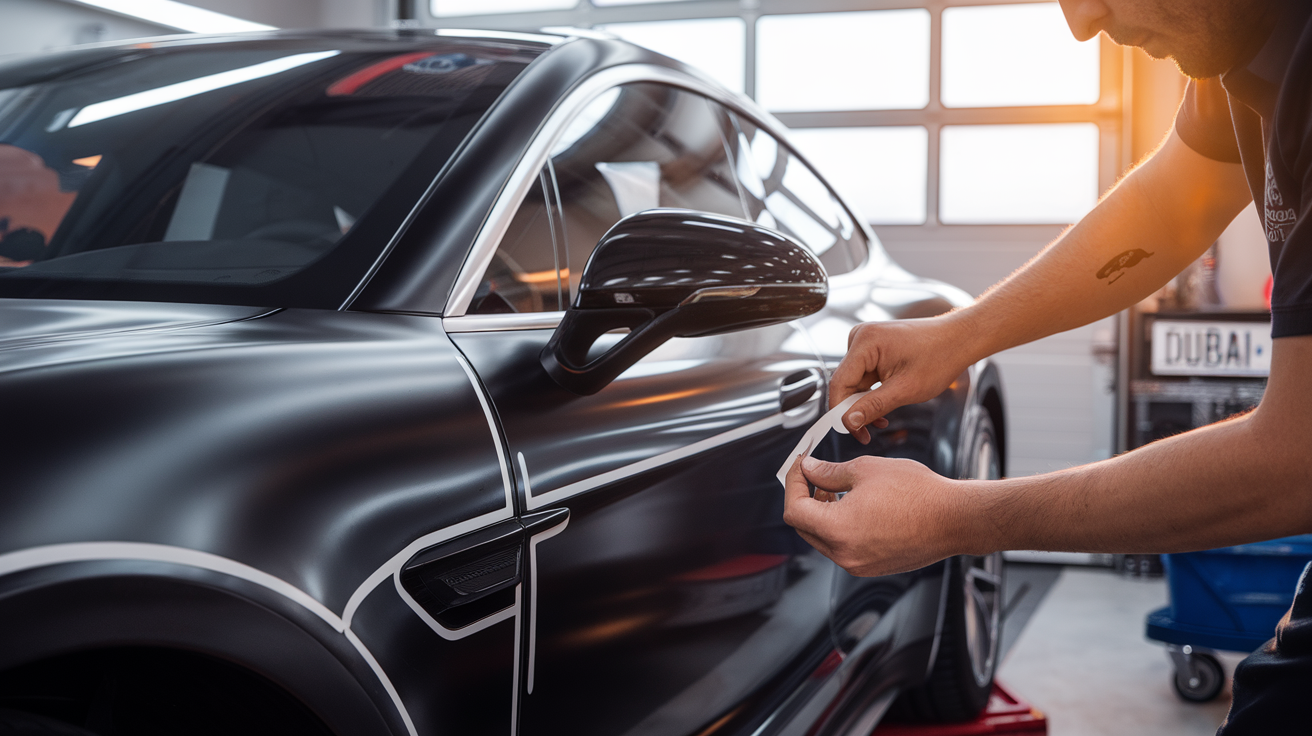
Edge Prep Tape
This tiny surface preparation tool handles the tricky stuff—rubber trims, aggressive corners, deep panel gaps. It blocks residue, absorbs leftover polish, and helps create clean wrap seams in high-detail installs.
- Use: Apply before cleaning edges. Peel off just before vinyl placement.
- Wrap Win: Stops premature edge lift and gives installers cleaner alignment control.
These surface preparation tools aren’t just accessories they’re your first line of defense against failure. In Dubai’s harsh conditions, bad prep will burn you every time. Whether you’re laying matte black on a G-Wagon or detailing a fleet wrap in Ras Al Khor, the real craftsmanship shows before the vinyl even comes out of the box.
Order of Operations| Building the Perfect Prep Workflow
In car wrapping, prep isn’t just a process; it’s a ritual. The sequence you follow with your surface preparation tools directly determines adhesion, longevity, and finish quality. Here’s how Dubai’s top installers do it, step by deliberate step:
1. Dry Wipe with Microfiber Cloths
Before anything touches liquid, start dry. Dust is deceptive; it hides in crevices and rides on static. Your microfiber cloth is the first handshake between your hands and the paint.
- Purpose: Removes loose dust and initial contaminants.
- Tool Insight: Use high-pile microfiber paint-grade only. Anything less leaves residue behind.
- Why First: You need a clean canvas before introducing any liquids. Static buildup is real.
2. Clay Bar Pass
What the eyes miss, the clay bar finds. It’s your truth-teller when gloss lies. This step feels therapeutic, each glide scrubs away a story the road left behind.
- Purpose: Extracts embedded grit, brake dust, and bonded particulates.
- Tool Insight: This surface preparation tool shines after a dusty drive down Sheikh Zayed Road or exposure to industrial air in Ras Al Khor.
- Technique: Lubricate generously and glide with even pressure. Don’t skip corners and trims.
3. Alcohol Spray & Squeegee
Here, science meets simplicity. IPA clears what Polish camouflaged. This is the cleansing ceremony where paint is stripped of memories and made receptive again.
- Purpose: Degreases and evaporates contaminants invisible to the eye.
- Tool Insight: Use 70–90% IPA in a pressurized sprayer. Follow with a silicone-tip prep squeegee to wick away moisture.
- Critical Impact: Ensures the vinyl bonds to paint, not to leftover polish or wax.
4. Tack Rag Detailing
This step is subtle, but skipping it means catastrophe under vinyl. It’s the silent sweep that says: I respect the details nobody sees but everyone remembers.
- Purpose: Lifts fine dust, silicone mist, and airborne particles missed during wiping.
- Tool Insight: In climates like Dubai,s with frequent use of detailing sprays, tack rags are indispensable surface preparation tools.
- Technique: Gently sweep each panel. Never scrub.
5. Edge Prep Tape Application
Edges are where failure breeds. Masking them isn’t extra it’s essential. Edge prep tape is your promise to the corners: “I won’t let you lift.”
- Purpose: Protects and isolates sensitive wrap zones like trims, panel gaps, and gaskets.
- Tool Insight: Masks areas where polish residue collects and minimizes lift risk at vinyl edges.
- Final Step: Apply after cleaning and remove just before vinyl application.
The Importance of Sequential Prep vs. Shortcuts
Shortcuts might save time today, but cost you callbacks tomorrow. Out-of-order prep leads to:
- Adhesive failure
- Vinyl tunneling
- Edge lifting
- Contaminant bleed-through
True craftsmanship means respecting the sequence of your surface preparation tools. Each tool prepares the canvas for the next.
Testing Surface Readiness
Before the wrap goes down, test your prep like a pro:
- Drag Test: Lightly glide the back of your hand or wrap a glove across the surface. It should feel slick, not gritty.
- Fog Test: Exhale lightly onto a section. Watch how it evaporates—a quick, uniform flash indicates proper cleanliness.
- Visual Scan: Use a flashlight angled across the panel. Look for smudges, haze, or particles clinging near edges.
“Vinyl reveals what prep missed. Treat surface preparation tools like a contract: break it, and the finish breaks too.”
Material-Specific Prep | Paint, Chrome, Glass, Rubber Trim
Every surface tells its own story, and each requires a unique prep ritual before vinyl meets paint. Using the right surface preparation tools isn’t optional, it’s the difference between flawless adhesion and the kind of lift that gets noticed for the wrong reasons.
Paint Surfaces
Paint is the foundation. Treat it wrong, and you’ll build instability.
- Start with a dry microfiber wipe, followed by a clay bar to extract embedded contaminants.
- Use surface preparation tools like 70–90% IPA in a pressurized sprayer to degrease and test for clear coat breakdown, especially in older vehicles or repainted panels.
- Always check for swirl marks caused by improper prep cloths; use only paint-grade microfiber.
- Wrap Tip: Prep under cool conditions; high heat intensifies surface expansion and may hide defects until vinyl shrinks.
Chrome Elements
Chrome is beautiful but unforgiving; any scratch becomes permanent.
- Select non-abrasive, ultra-soft microfiber cloths as your go-to surface preparation tool for dry and wet cleaning.
- Avoid clay bars here. Instead, wipe with IPA only, then tack rag gently to lift polish residue.
- Apply edge prep tape early to mask tight curves and protect against adhesive pooling.
- Detail Insight: Chrome amplifies lift so your prep must eliminate all residual moisture before wrapping.
Glass Panels
Glass reflects everything, including your mistakes.
- Begin with a dry lint-free microfiber pass. Follow with alcohol spray and a firm squeegee for streak-free cleaning.
- Anti-static tack rags are your silent heroes, ideal surface preparation tools to prevent dust attraction near edges and windshield corners.
- For sunroof seams or tight vent areas, use edge prep tape to block water spots or leftover washer fluid.
- Wrap Reminder: Dubai’s dusty air demands double prep on glass, especially during mobile installs.
Rubber Trim & Gaskets
This is where contamination loves to hide and where lift loves to begin.
- Silicone and wax residues from detailing products live in these crevices. Tack rags here should work aggressively.
- Use dedicated surface preparation tools like edge masking tape to isolate rubber lines and absorb chemical bleed-out during alcohol spray phases.
- For complex corners, work panel by panel, and don’t rus;h heat guns nearby can damage rubber if applied during early prep.
- Pro Tip: Always do one final edge pass with a tack rag before removing the tape. If it’s dusty, you’re not done.
Avoiding Damage During High-Temp or Tight Corner Prep
Dubai’s climate isn’t wrap-friendly during peak hours. Prep should respect material sensitivities:
- Never use high heat on rubber or chrome during cleaning.
- Tight corners require layered prep tack rag, tape, and dry cloth before vinyl ever touches down.
- Use surface preparation tools that promote safe handling under heat, like silicone-edge squeegees and anti-static microfiber.
“Wrapping isn’t just adhesion. It’s respect—for every surface that carries your work.”
Climate, Wrap Type & Tool Selection | Pro-Level Recommendations
In the world of wraps, conditions dictate decisions. The best surface prep pros adapt their tools to what the air is doing, what the vinyl needs, and what the substrate demands. Dubai’s humidity, Karachi’s dust—each brings unique prep challenges. Your tool kit needs to keep up.
Humidity, Temperature & Dust Levels: How They Affect Surface Preparation Tools
- Humidity reduces evaporation rates, allowing residue and moisture to linger longer. This makes tack rags and prep squeegees non-negotiable surface preparation tools in damp bays.
- High temperature can flash off alcohol too quickly, leaving behind oily residue if the spray angle or squeegee pressure isn’t adjusted.
- Dust clings especially in static-heavy environments. Anti-static microfiber and final-pass tack rags must be used with intentionality and rhythm.
In hot climates, prep isn’t just cleaning—it’s controlling microconditions on every panel.
Tool Selection by Wrap Type
Matte vs. Gloss Wraps
- Matte vinyl exposes surface flaws brutally, it emphasizes texture. Your surface preparation tools must leave a smooth, flawless paint substrate.
- Recommended tools: High-grade clay bar, tack rag, silicone-tip squeegee.
- Gloss wraps reveal contamination under light glare, making streak-free IPA and lint-free microfiber essential.
PPF (Paint Protection Film) vs. Full Color Change
- PPF installs are unforgiving with moisture using surface preparation tools that wick clean without introducing static.
- Avoid residue-prone towels and overuse of IPA in high humidity.
- Full color change wraps can tolerate more aggressive prep, but require extra attention to corners and trim gaps. Edge tape here is clutch.
High-End Geometric Wraps
- Complex symmetry demands perfect alignment, meaning perfect prep.
- Use dry microfiber first, then clay bar for texture leveling.
- Edge prep tape prevents lift in tight radii and deep seams.
Regional Examples | Dubai vs. Karachi
Dubai (Humid, Coastal Air)
- Moisture hides in trim and vents. Surface preparation tools must be extracted without damage.
- IPA must be followed by a squeegee and tack rag to guarantee dryness.
- Tack rags make or break wrap longevity here; they fight both humidity and polish mist.
Karachi (Dusty, Dry Atmosphere)
- Dust resets within minutes, prep is about timing.
- Use anti-static microfiber with multiple passes.
- Tack rags here must sweep repeatedly, especially post-wash and pre-wrap.
- Alcohol should be applied in sections—not across whole panels due to fast flash.
Adhesive Behavior in Hot Climates: The Tack Rag Factor
In high heat, adhesive activates faster, but that doesn’t mean it bonds better.
- Moisture or wax still present under vinyl will cause lift even if the adhesive feels tacky.
- Tack rags, used methodically after IPA and squeegeeing, remove invisible residue critical to edge grip and tunnel avoidance.
- Use panel-by-panel prep logic, not blanket cleaning, so adhesive meets clean paint, not cleaned paint.
“Surface preparation tools don’t just prep—they predict performance.”
Workshop Wisdom | Maintaining Tools & Keeping Prep Sharp
A flawless wrap starts long before the vinyl touches the car. It begins in the way you store, care for, and deploy your surface preparation tools. Let’s dial in your workflow so even the quietest detail, like a tack rag or clay bar, gets the respect it deserves.
How to Store Surface Preparation Tools?
Taking care of your gear isn’t optional it’s insurance against failed installs.
- Alcohol Sprayers: Seal in airtight containers, store in a cool, dark cabinet. Heat weakens IPA and warps plastic seals. Reminder: Residue-free degreasing requires chemistry that’s uncompromised.
- Microfiber Cloths: Wash separately—never with cotton or garage towels. Skip softener; it leaves silicone that sabotages adhesion. Pro Move: Sort by purpose—paint prep, wheel cleaning, final wipes. Color-coded bins are ideal.
- Clay Bars: Store in original packaging, inside sealed zip bags. Use prep spray for short-term hydration. Never let it dry out. Damage Control: A brittle bar scratches. A properly stored one glides like butter.
“If your tools are tired, your results are compromised. Surface preparation starts with respect for your kit.”
Contamination Testing Methods
Before vinyl hits paint, run your diagnostics like a pro:
- Surface Swipe Technique: Lightly drag your hand or wrap a glove across a panel. Feel for grit, drag, or static cling. If it grabs, go back to the clay bar.
- Visual Check Under Task Lights: Use an angled light across the panel perfect for spotting swirl marks, dust specks, or lingering haze. Wraps reflect mistakes. Make prep lighting part of your QA process.
Creating a Logical Prep Station for Team Workflows
Prep isn’t solo work, it’s choreography. Your station should guide your team like muscle memory.
- Layout Tips:
- Work left to right, or top to bottom same direction every time.
- Dedicated zones for dry prep, wet prep, and edge taping.
- Mount alcohol sprayers and tack rag dispensers within arm’s reach.
- Keep waste bins accessible to reduce clutter during wrap prep.
- Efficiency Boost:
- Label shelves with tool type and wrap stage.
- Include visual workflow boards to prevent missed steps.
Labeling Tools to Prevent Mix-Ups
One contaminated cloth can ruin the finish on a luxury wrap.
- Use bold labels: Wrap Only, Wheel Use, Interior, etc.
- Color-code wraps vs. detailing towels (e.g., green for wrap, red for wheels).
- Keep used cloths out of clean bins. One drop of tire shine equals adhesive failure.
“Precision isn’t just what you do—it’s what you prevent.”
The Difference Is in the Details
In wrapping, perfection isn’t accidental it’s engineered, layer by layer. And that process starts with the deliberate use of surface preparation tools designed for precision, not convenience. Every tack rag sweep, every microfiber pass, every squeegee slide is a vote for clarity, grip, and staying power. Skipping prep is like painting over rust: it looks fine until reality kicks in.
Final Advice for Wrap Pros & DIY Dreamers
Whether you’re a seasoned installer working in a Dubai wrap bay or a passionate DIYer in Karachi, your final result is only as flawless as your prep ritual. If you want:
- No lift at corners
- Zero bubbles under curves
- Seam lines that whisper “showroom”
Then you need to treat surface preparation tools as your frontline. Don’t just clean, decontaminate. Don’t just dry neutralize. Don’t just wipe understand what you’re lifting.
The vinyl only bonds as well as the surface allows. What lives beneath the film will always find its way to the top, either visually or through failure.
Time to Audit & Upgrade
Take 15 minutes today to walk through your kit:
- Are your microfiber cloths lint-free, sorted by purpose, and static-neutral?
- Is your IPA sprayer sealed, working, and loaded with the right concentration?
- Is your clay bar moist and smooth—not crusted or dry?
- Are your tack rags appropriate for paint, glass, and rubber not reused across zones?
Label, sort, discard, and upgrade. Because in the world of wraps, forgotten tools become remembered flaws.
“Details aren’t decoration, they’re durability. Surface preparation tools are your guarantee before the vinyl ever shows up.